
Magento 2 is a powerful e-commerce platform that provides many features to assist businesses in properly managing their online storefronts. Whether you’re looking to implement dynamic pricing, targeted promotions, personalized shopping experiences, or access control, Magento 2 customer groups are your key to e-commerce success.
In this fast guide, we’ll look at why you might need to build customer groups and show you how to accomplish it in Magento 2.
Why Do You Need to Create Customer Groups in Magento 2?
Customer groups in Magento 2 are a fundamental component of customer segmentation. They enable e-commerce businesses to tailor their strategies and services to different customer segments, offering a more personalized and effective shopping experience. Here are some detailed explanations of how customer groups are beneficial:
- Pricing Strategies:
- Dynamic Pricing: Customer groups allow you to set different prices for products based on the customer’s group. This dynamic pricing strategy is invaluable for various scenarios:
- Wholesale Pricing: Offer discounted prices to your wholesale buyers, encouraging bulk purchases and fostering strong B2B relationships.
- Loyalty Discounts: Reward loyal customers with exclusive discounts, making them feel appreciated and incentivizing repeat purchases.
- Dynamic Pricing: Customer groups allow you to set different prices for products based on the customer’s group. This dynamic pricing strategy is invaluable for various scenarios:
- Targeted Promotions:
- Segmented Marketing: Customer groups enable you to create promotions and discounts that apply exclusively to specific customer segments. This targeted approach to marketing can help you:
- Boost Sales: Run promotions tailored to specific customer groups, increasing the likelihood of conversions among those groups.
- Clear Inventory: Use promotions to clear out slow-moving inventory among specific customer segments.
- Segmented Marketing: Customer groups enable you to create promotions and discounts that apply exclusively to specific customer segments. This targeted approach to marketing can help you:
- Customized Shopping Experience:
- Personalization: Offering a unique shopping experience to different customer segments is a key to customer satisfaction. Magento 2’s customer groups facilitate:
- Personalized Product Recommendations: Recommend products based on a customer’s previous purchase history or preferences.
- Tailored Content: Customize the content, such as banners and messages, displayed to specific customer groups.
- Personalization: Offering a unique shopping experience to different customer segments is a key to customer satisfaction. Magento 2’s customer groups facilitate:
- Access Control:
- Exclusive Content: With customer groups, you can limit access to certain products or categories to specific customer groups. This feature is particularly useful for creating members-only sections or providing exclusive access to:
- Premium Products: Offer premium or VIP products to a select group of customers, driving interest and sales among that group.
- Subscription Services: Restrict access to subscription-based services or content.
- Exclusive Content: With customer groups, you can limit access to certain products or categories to specific customer groups. This feature is particularly useful for creating members-only sections or providing exclusive access to:
How To Create A New Customer Group In Magento 2
There are just 3 simple steps to add a new customer group in Magento 2. Let’s get started!
Step 1: Go to the admin panel, navigate to STORES, and click on Customer Groups under Other Settings.

Step 2: Click on the “Add New Customer Group” button.

Step 3: Add the required information for the new group, such as the group name and tax class. You can also set the group’s “Code” and “Price Display Settings” according to your preferences. Once you’ve filled in the details, click “Save.”
Here you need to enter the new group name and then choose the tax class applied for this group. Save to complete the configuration.

How To Assign Customers To a Specific Customer Group in Magento 2
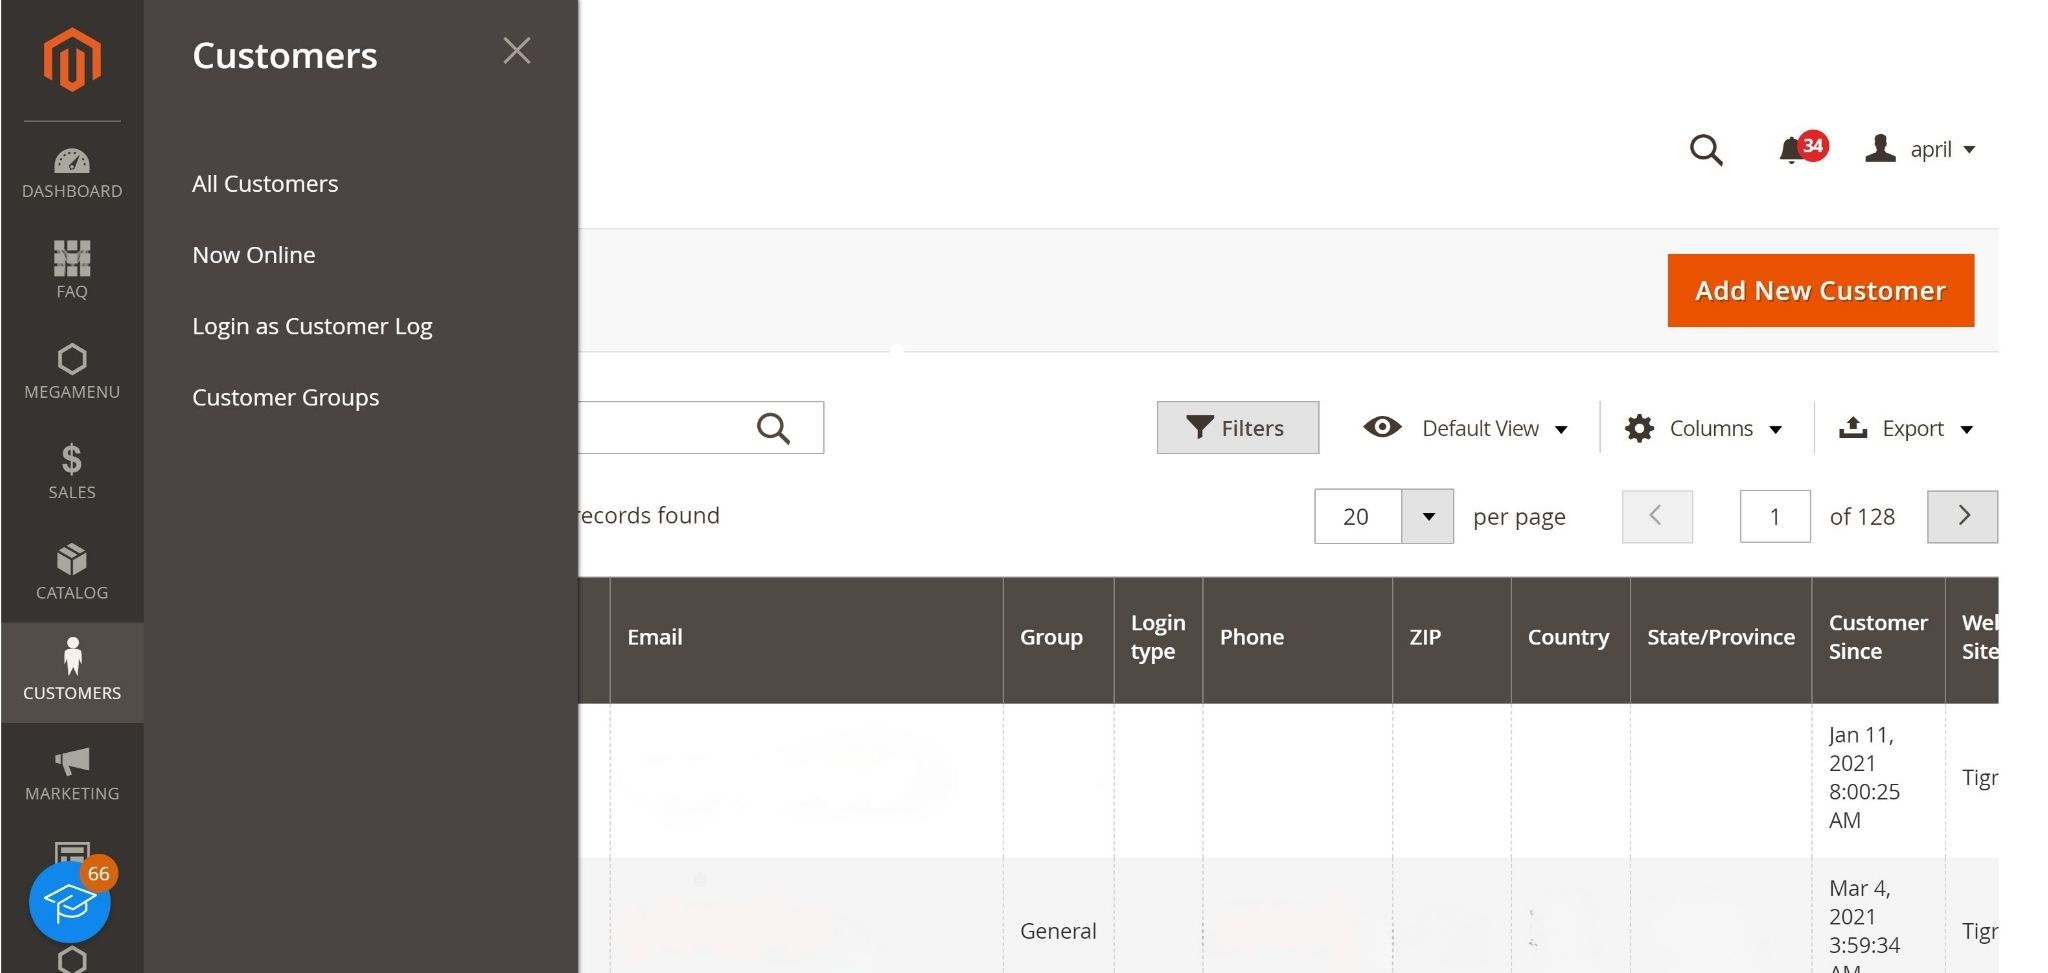
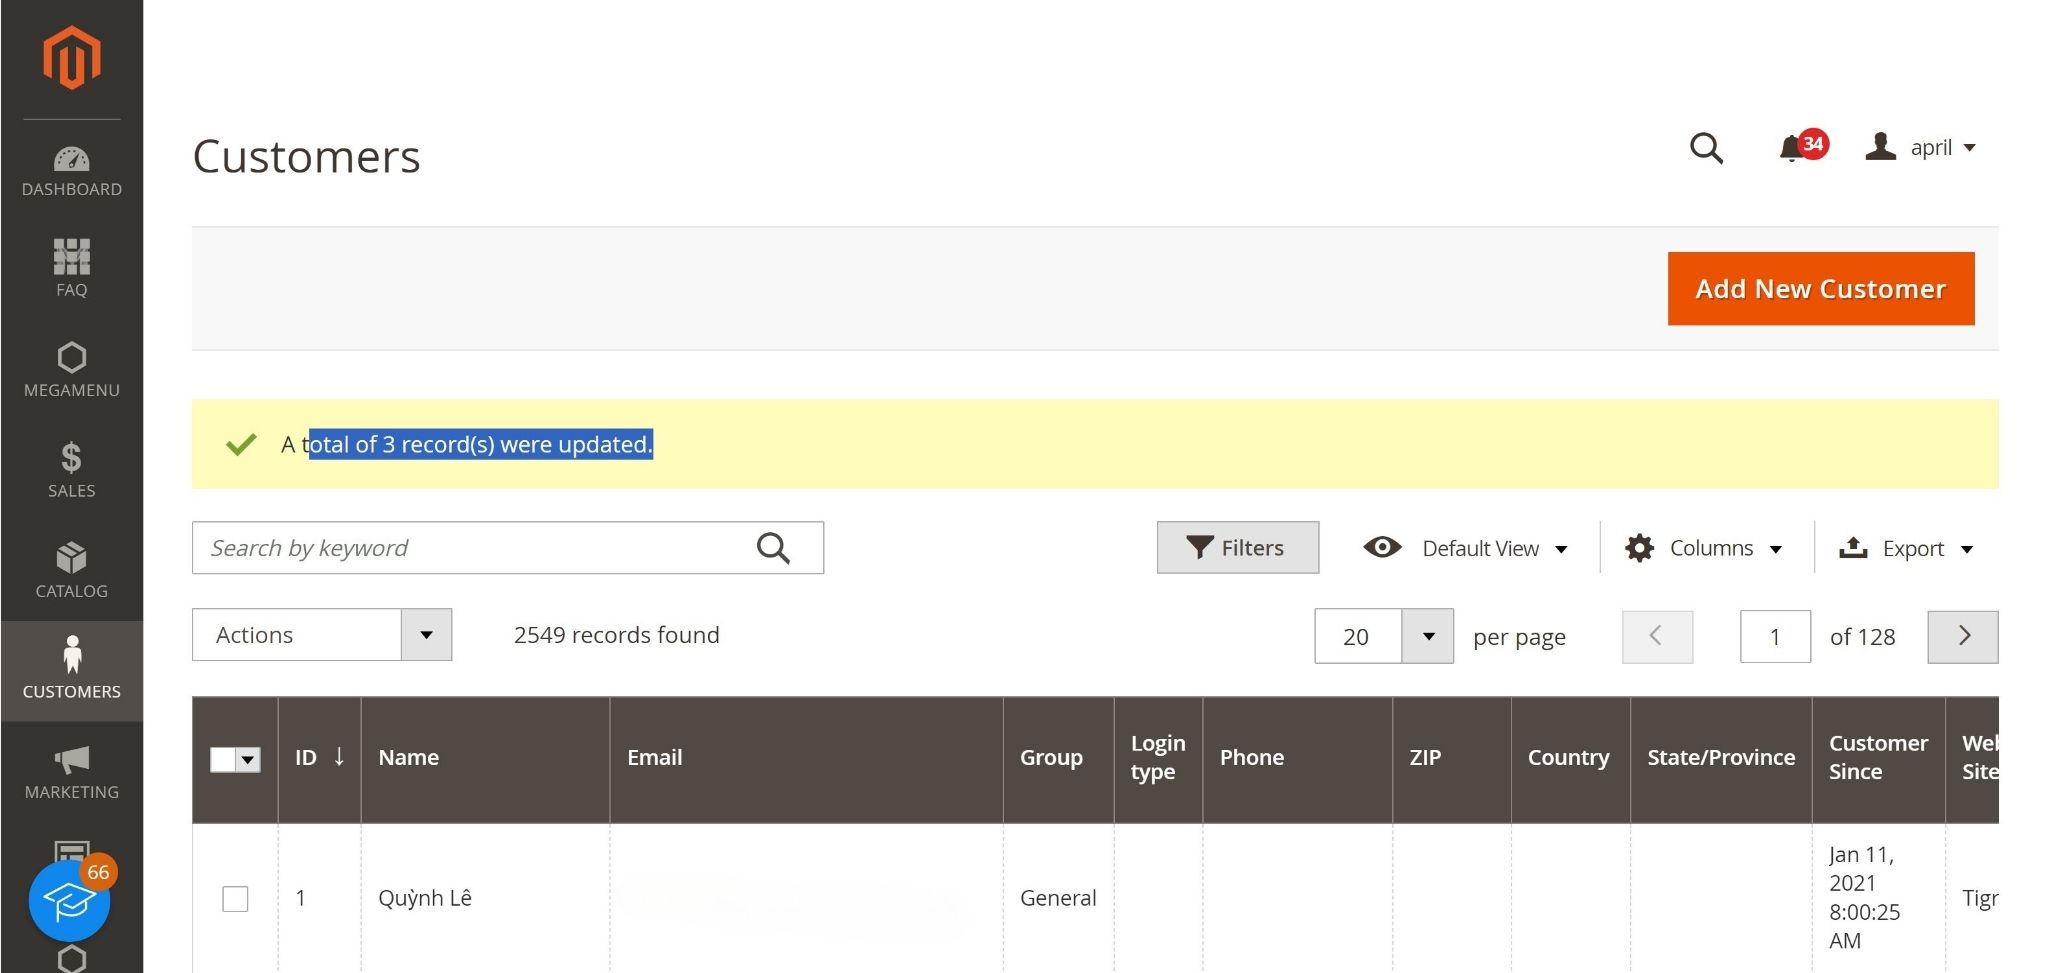
Step 1: Go to the admin panel, navigate to “Customer”, and select “All Customers.”
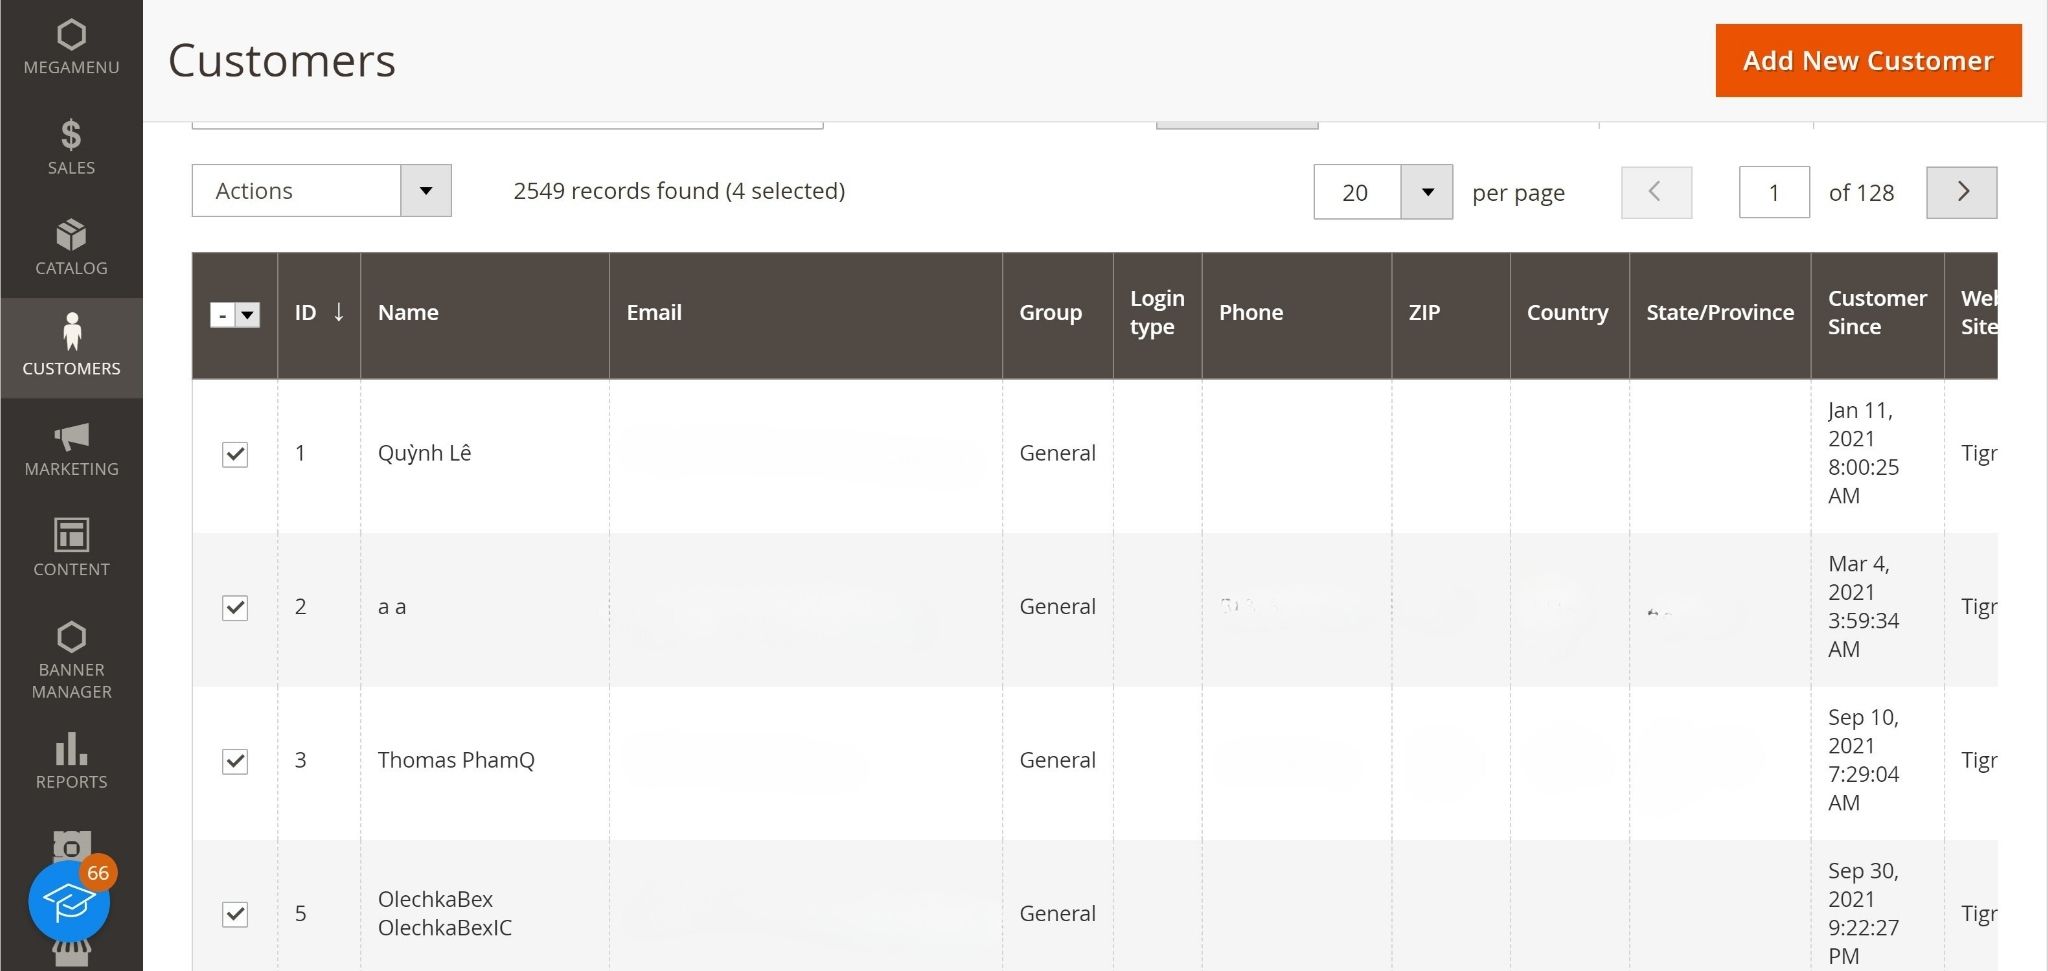
Step 2: Choose the customer you want to assign to a particular group. You can do this by checking the box next to their name.
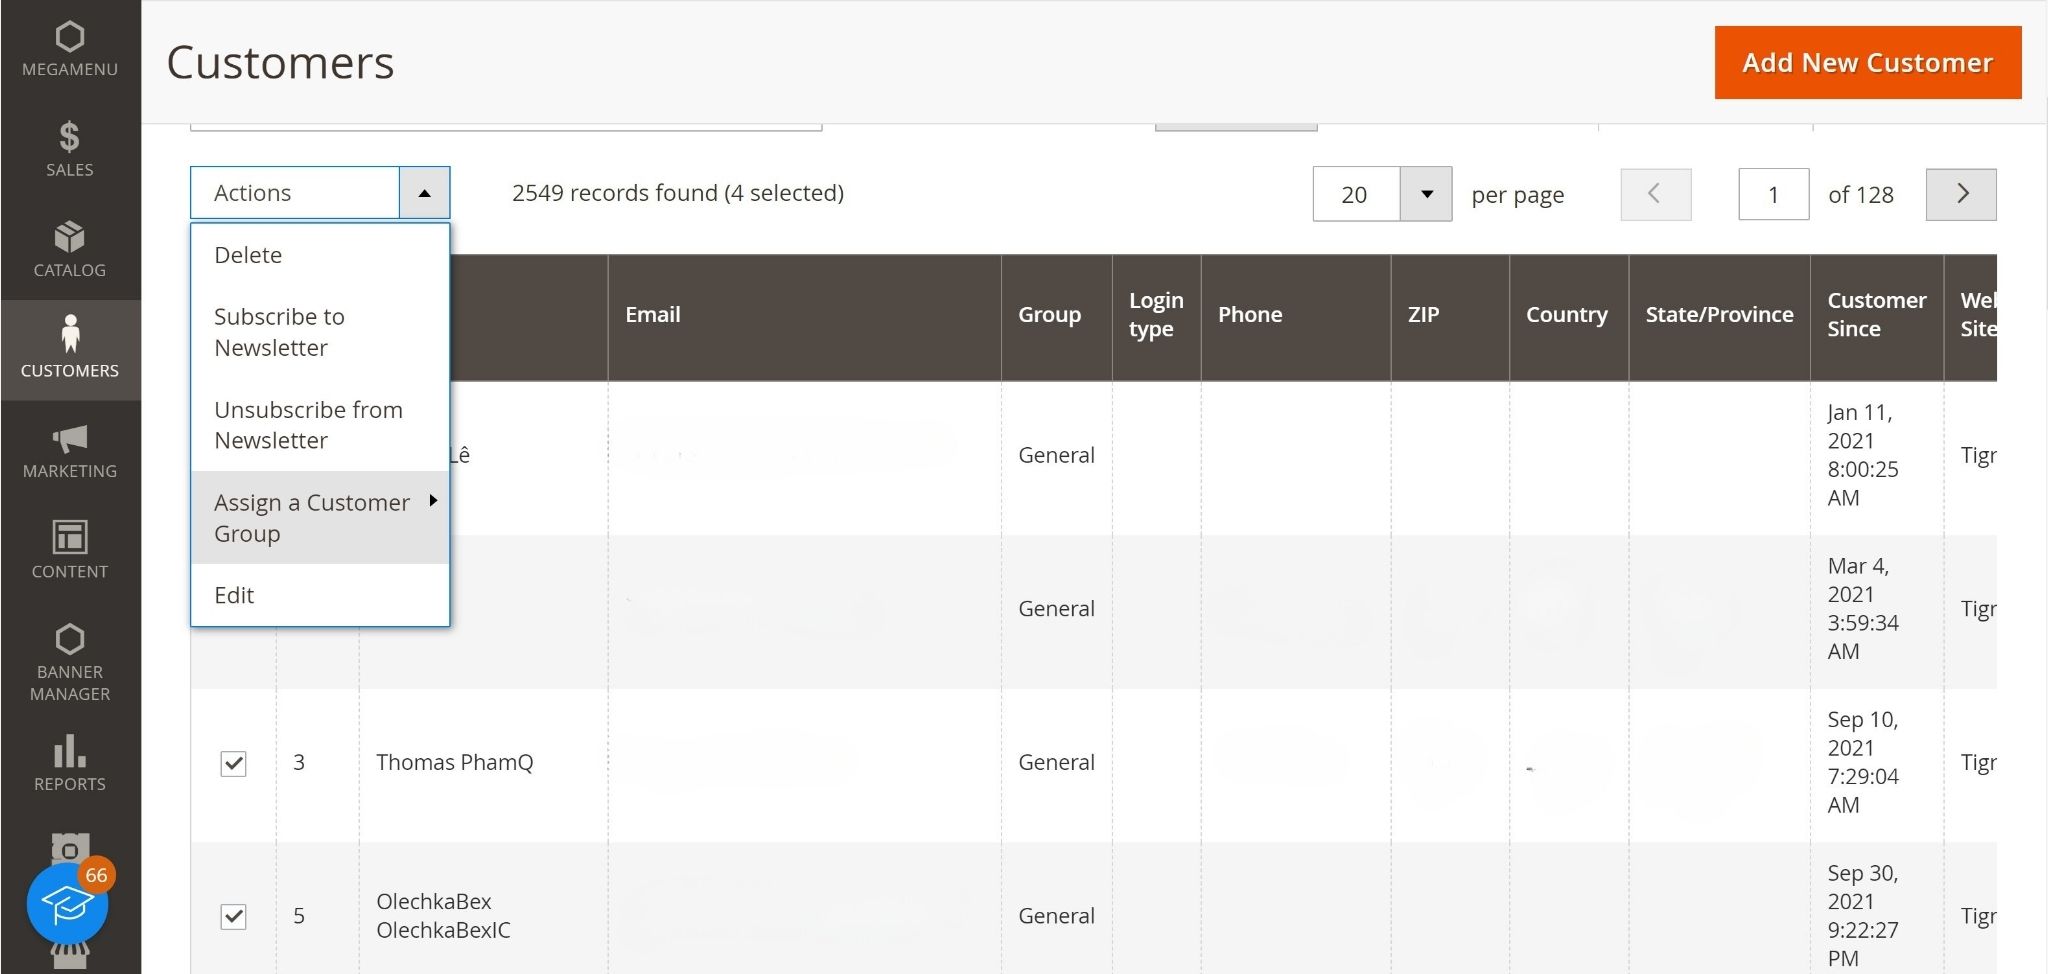
Step 3: From the “Actions” dropdown menu, select “Assign a Customer Group.”
Step 4: A pop-up window will appear, allowing you to select the customer group you created earlier. Choose the appropriate group and click “Save Customer.”
That’s it! You’ve successfully created a customer group and assigned a customer to it in Magento 2. You can now take full advantage of the various benefits offered by customer groups in your e-commerce store.
We have shown you how to create a new customer group as well as how to assign a customer to another group in Magento 2. If you have any problems when following this tutorial, feel free to ask us by leaving a comment below. See you in the next tutorials!
Conclusion
Creating and managing customer groups in Magento 2 empowers you to implement a wide array of strategies for your e-commerce store. From offering personalized discounts and promotions to enhancing the shopping experience and controlling access to exclusive content, these groups are a vital tool for tailoring your approach to different customer segments.