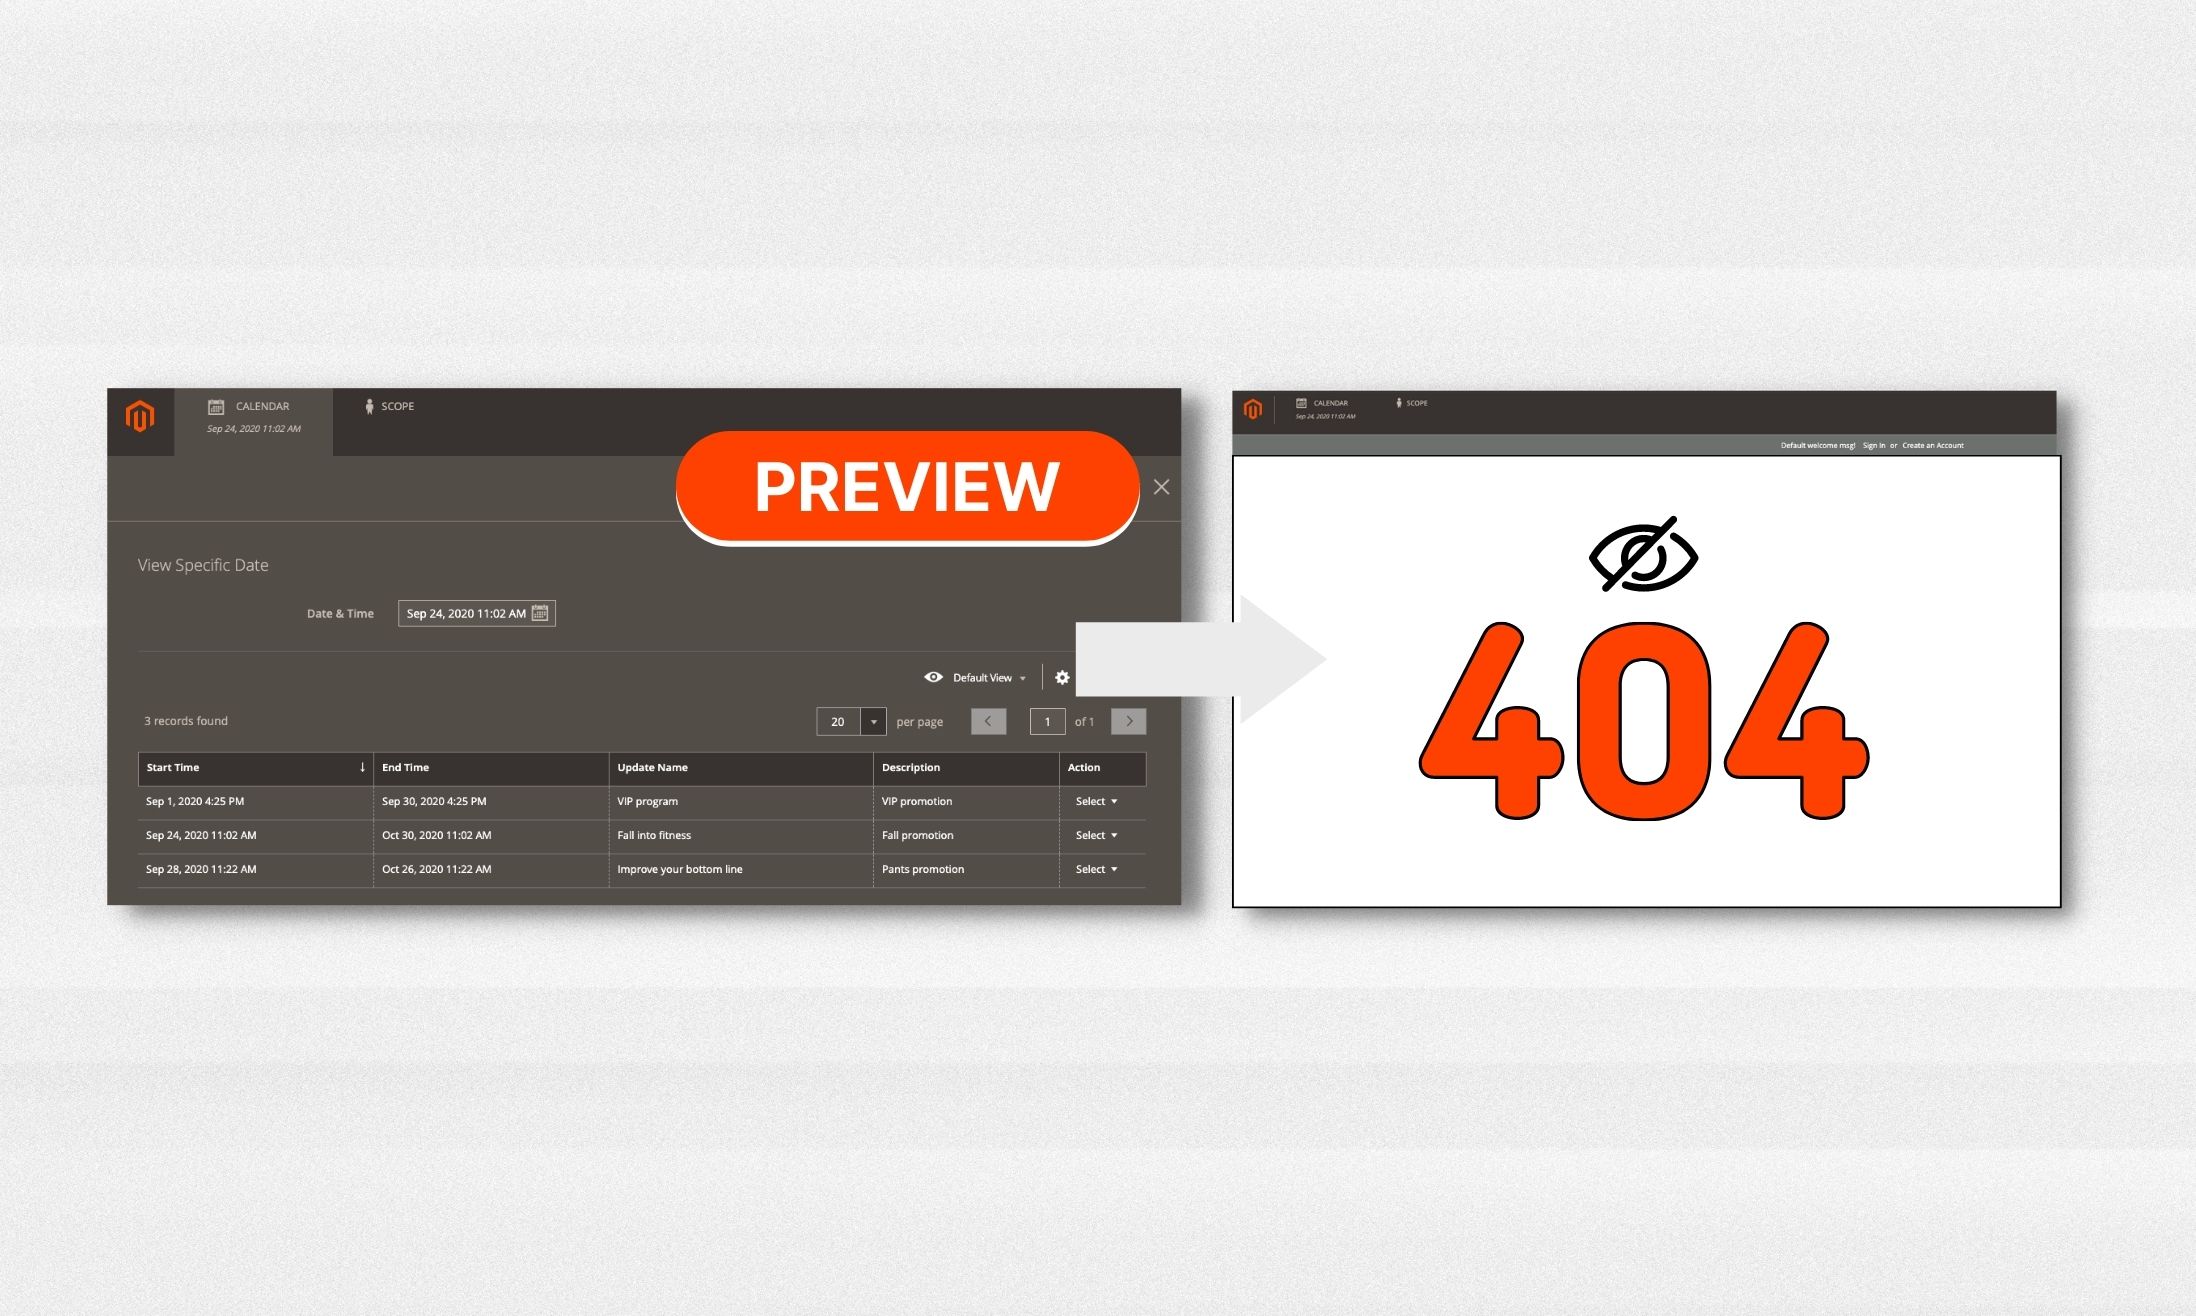
Are you facing difficulties previewing campaigns in Magento PWA Content Staging? Don’t worry, we’ve got you covered! In this blog post, we’ll explore the common issue of not being able to preview campaigns and provide you with a step-by-step solution to fix it. With our expert guidance, you’ll unlock the full potential of content staging in Magento PWA and gain the ability to seamlessly preview and schedule your content updates. Let’s dive in!
Magento Commerce Content Staging
What is Content Staging?
Content staging is a powerful feature offered by Magento Commerce (Adobe) that empowers your business team to effortlessly create, preview, and schedule a wide range of content updates for your online store directly from the Admin interface.
Key features of Content Staging
- Flexible Scheduling: By leveraging content staging, you can schedule changes to your store’s content for specific time periods. When the scheduled change expires, the content automatically reverts back to its previous version. This ensures that your website remains up-to-date and reflects the desired changes at the right times. Additionally, you can create multiple versions of baseline content to facilitate future updates and easily navigate through previous versions.
- Campaign Management: A “Campaign” in content staging refers to a recorded set of scheduled changes that can be viewed on a calendar or timeline. The Staging Dashboard allows you to manage these campaigns effectively, providing an overview of all scheduled updates. Each Scheduled change, also known as a “Scheduled update”, refers to an individual modification within a campaign.
How it works
- Establishing Baseline Content: The baseline content represents the default state of an asset without any campaigns. It encompasses all the content below the “Scheduled Changes” section at the top of the page. The baseline content remains active unless an ongoing campaign with scheduled changes overlaps on the timeline.
- Initiating the First Campaign: Create your initial campaign by specifying the desired start and end dates. For an open-ended campaign, leave the end date blank. Once the first campaign concludes, the original baseline content is automatically restored.
- Adding Subsequent Campaigns: You can create additional campaigns, each assigned to a unique time period. However, ensure that campaigns for the same asset do not overlap. This allows you to accommodate multiple campaigns as required.
- Restoring Baseline Content: When all active campaigns reach their end dates, the baseline content is automatically reinstated, providing a seamless transition once the campaigns conclude.
By leveraging the power of Magento Commerce Content Staging, you gain precise control over your content updates, ensuring timely changes without disrupting the overall user experience of your online store.
Limitations Of Content Staging In Magento PWA
Unfortunately, certain aspects of Content Staging in Magento PWA (Progressive Web Application) present compatibility challenges, requiring specific resolutions.
One common issue encountered is related to the Campaign Preview mode, which can result in errors when attempting to preview content changes within a campaign.
In this article, we will primarily address Product content staging, with the understanding that similar solutions can be applied to other content types such as categories, catalog price rules, cart price rules, CMS pages, and CMS blocks.
As you might know, content staging in the Magento backend relies on an iframe to display the preview content. The original preview URL structure encompasses three essential elements: preview_store, preview_url, and preview_version.
For instance, consider the following example where a change was made to a product, resulting in the following preview URL:
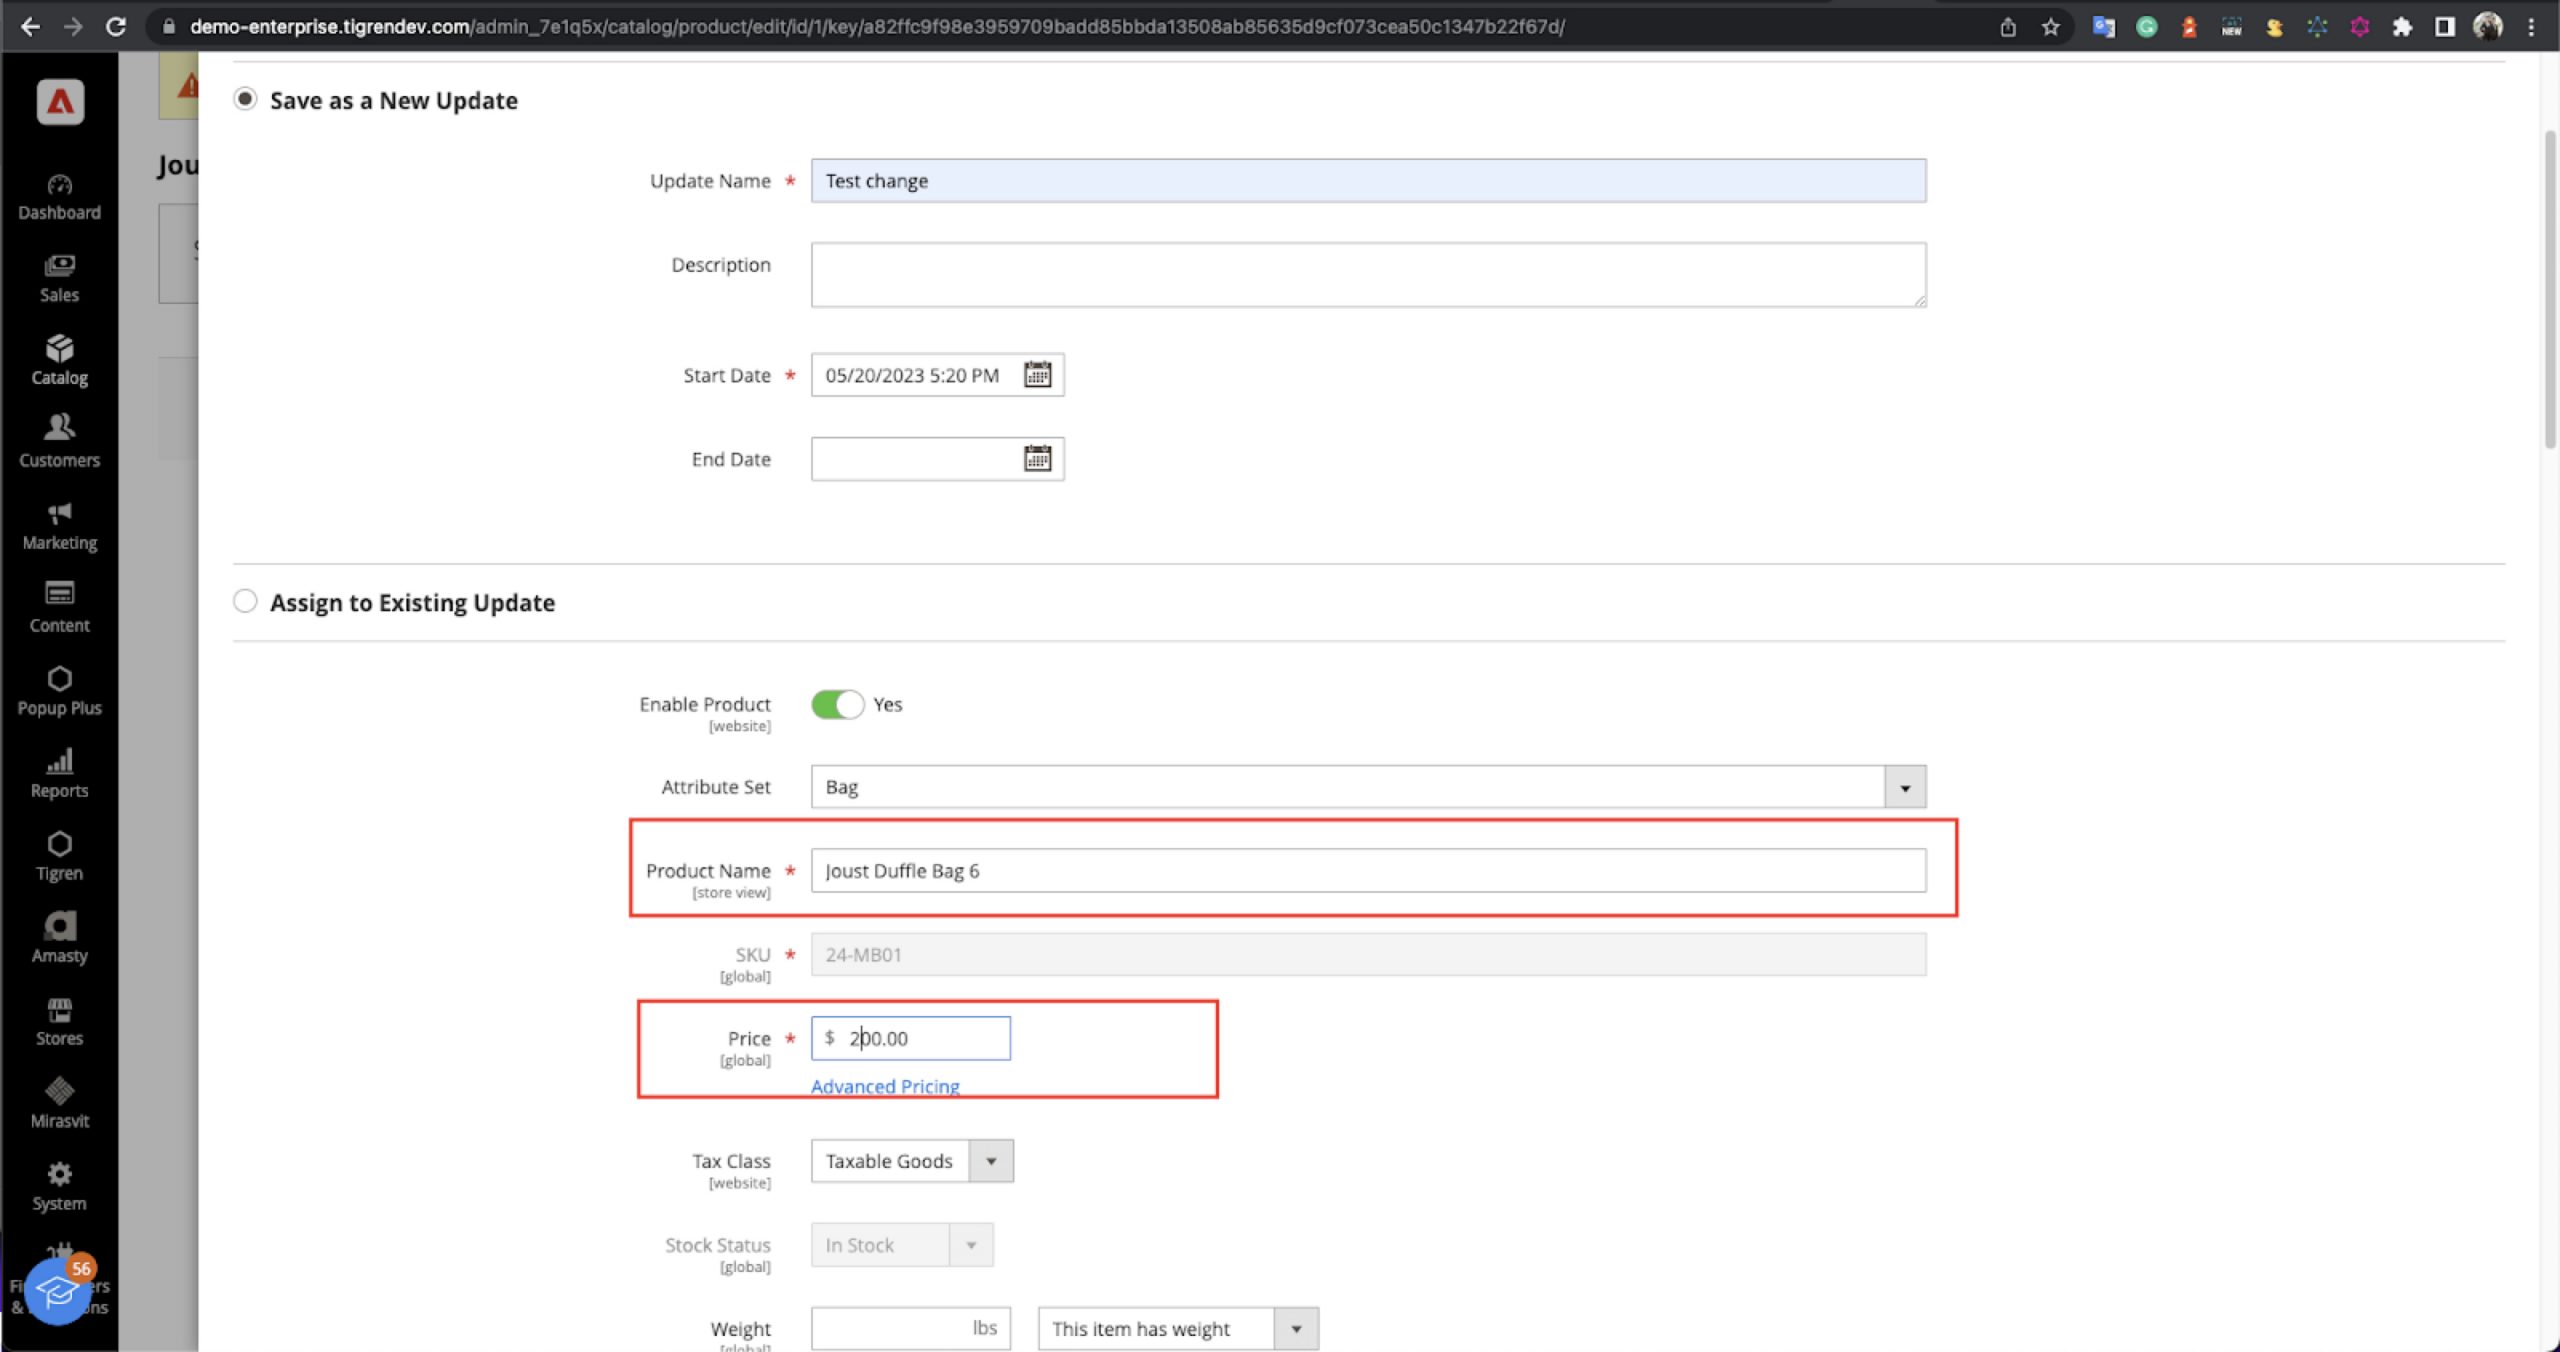
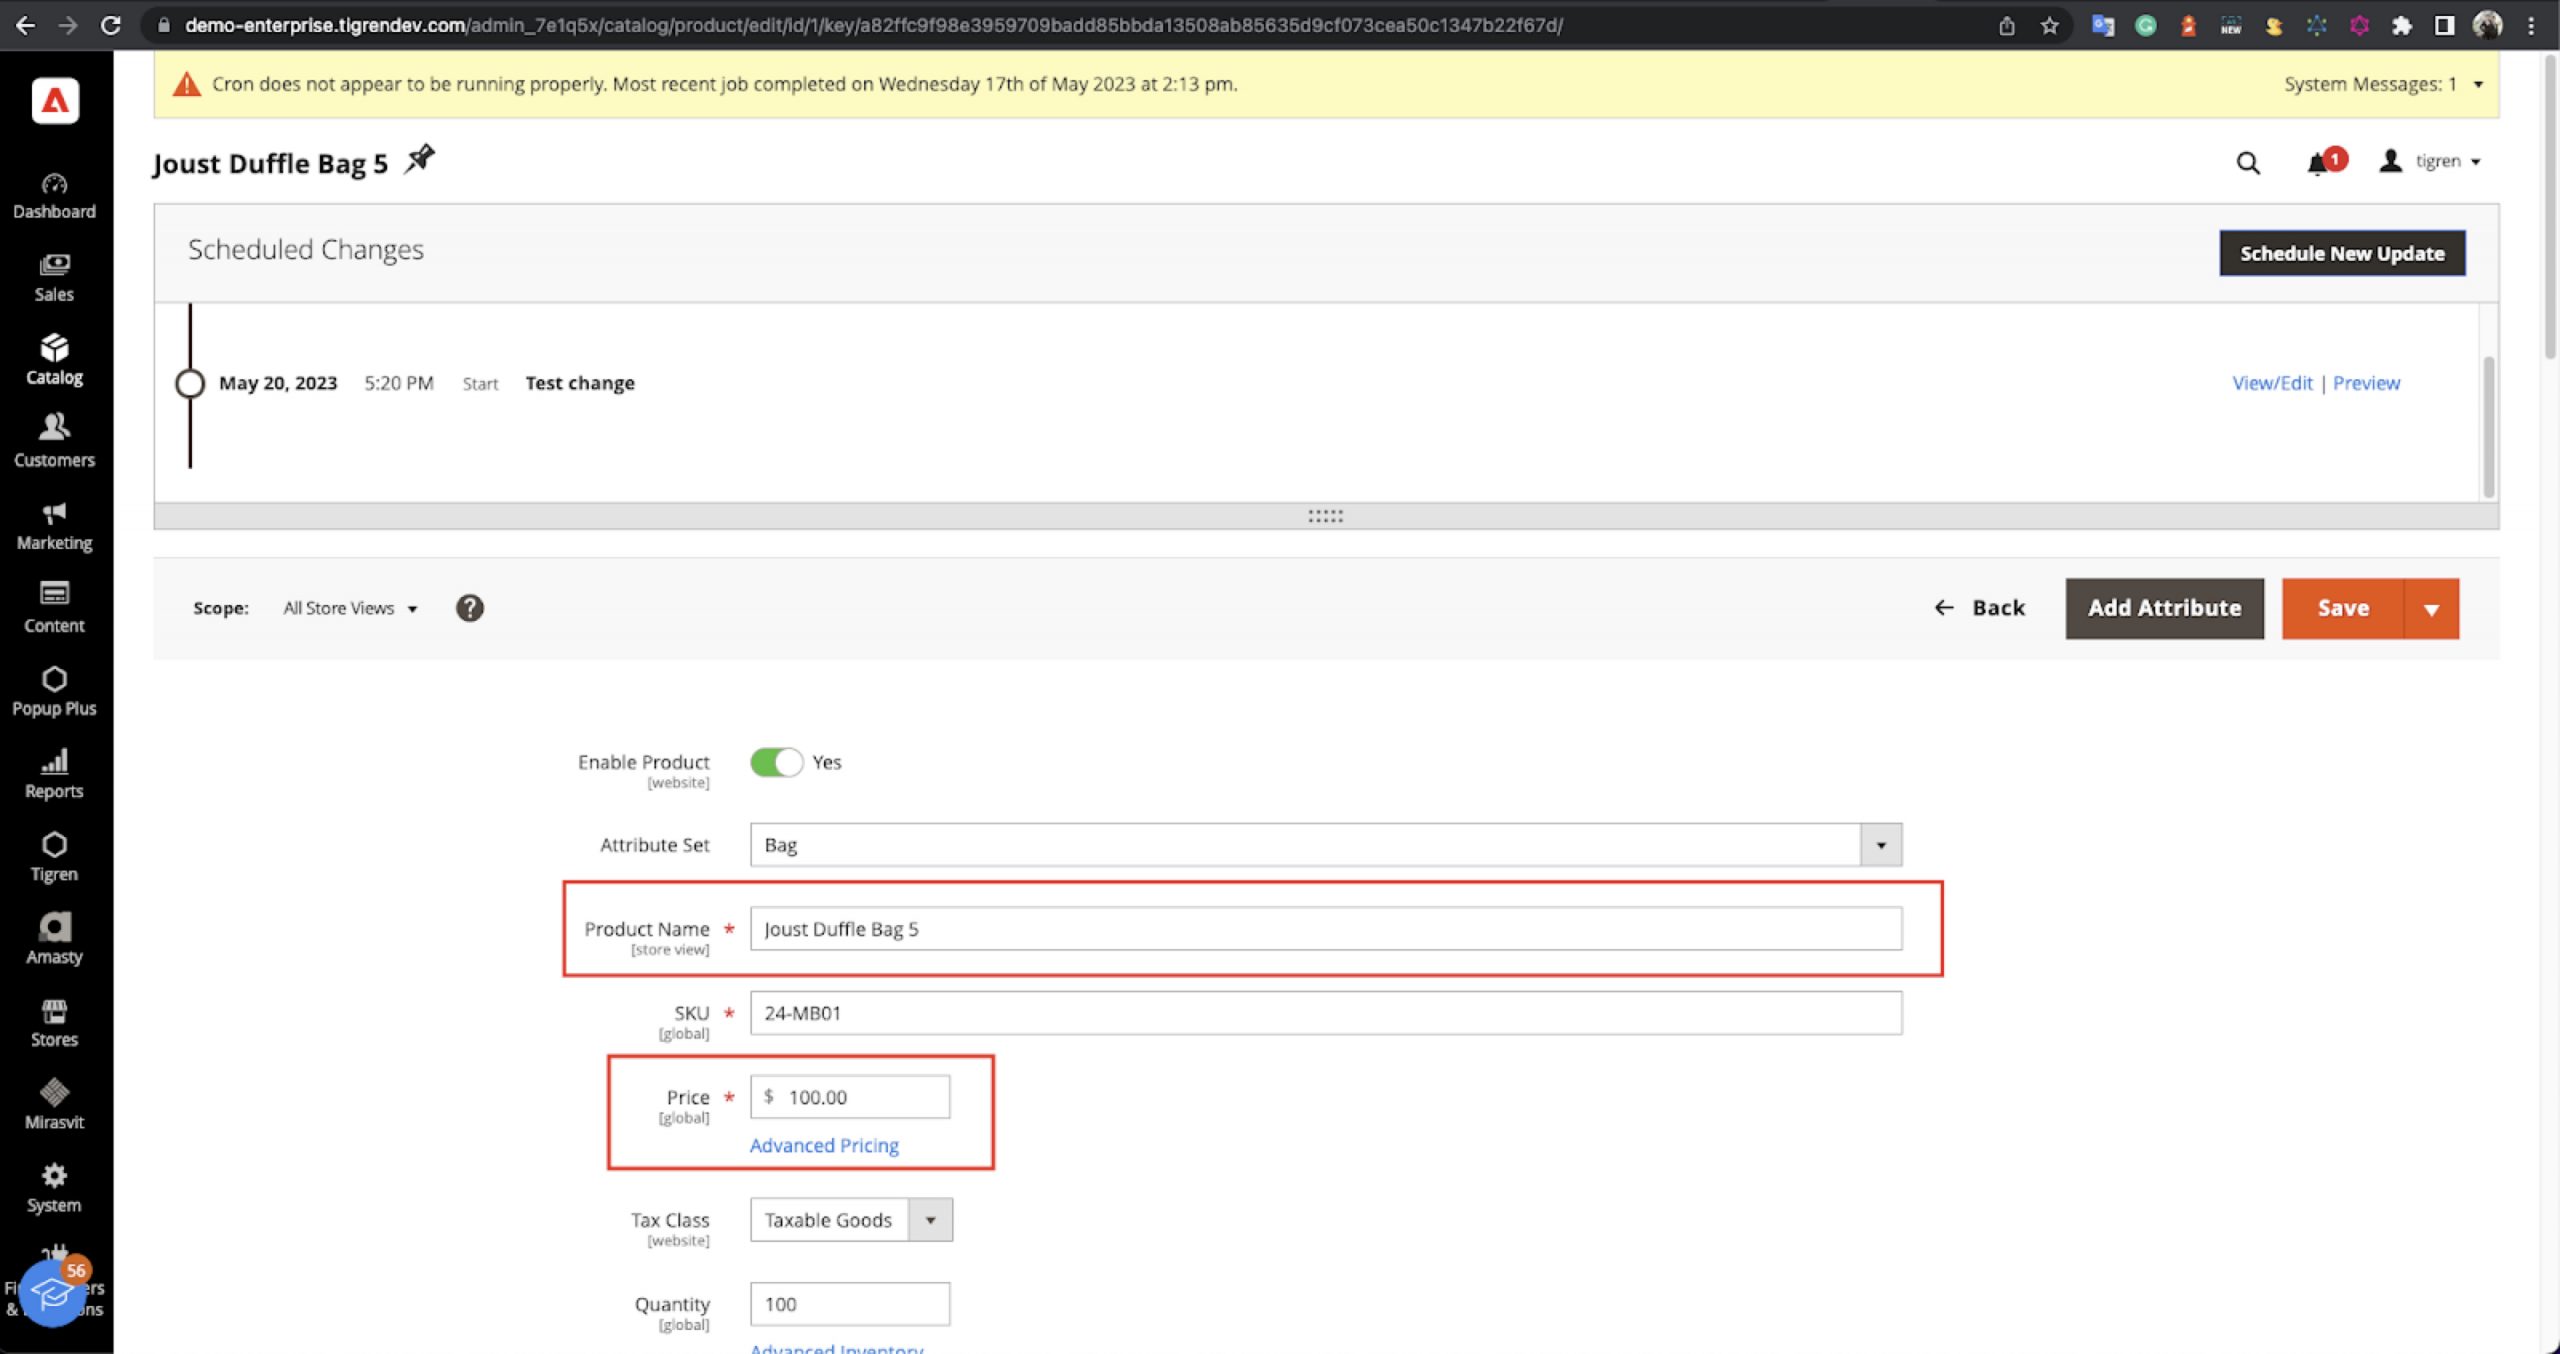
Breakdown of the URL components:
- Preview_store: th
- Preview_url: https://demo-enterprise.tigrendev.com/catalog/product/view/id/1
- Preview_version: 1684578000
However, these URLs do not function as intended in the PWA storefront due to the following issues:
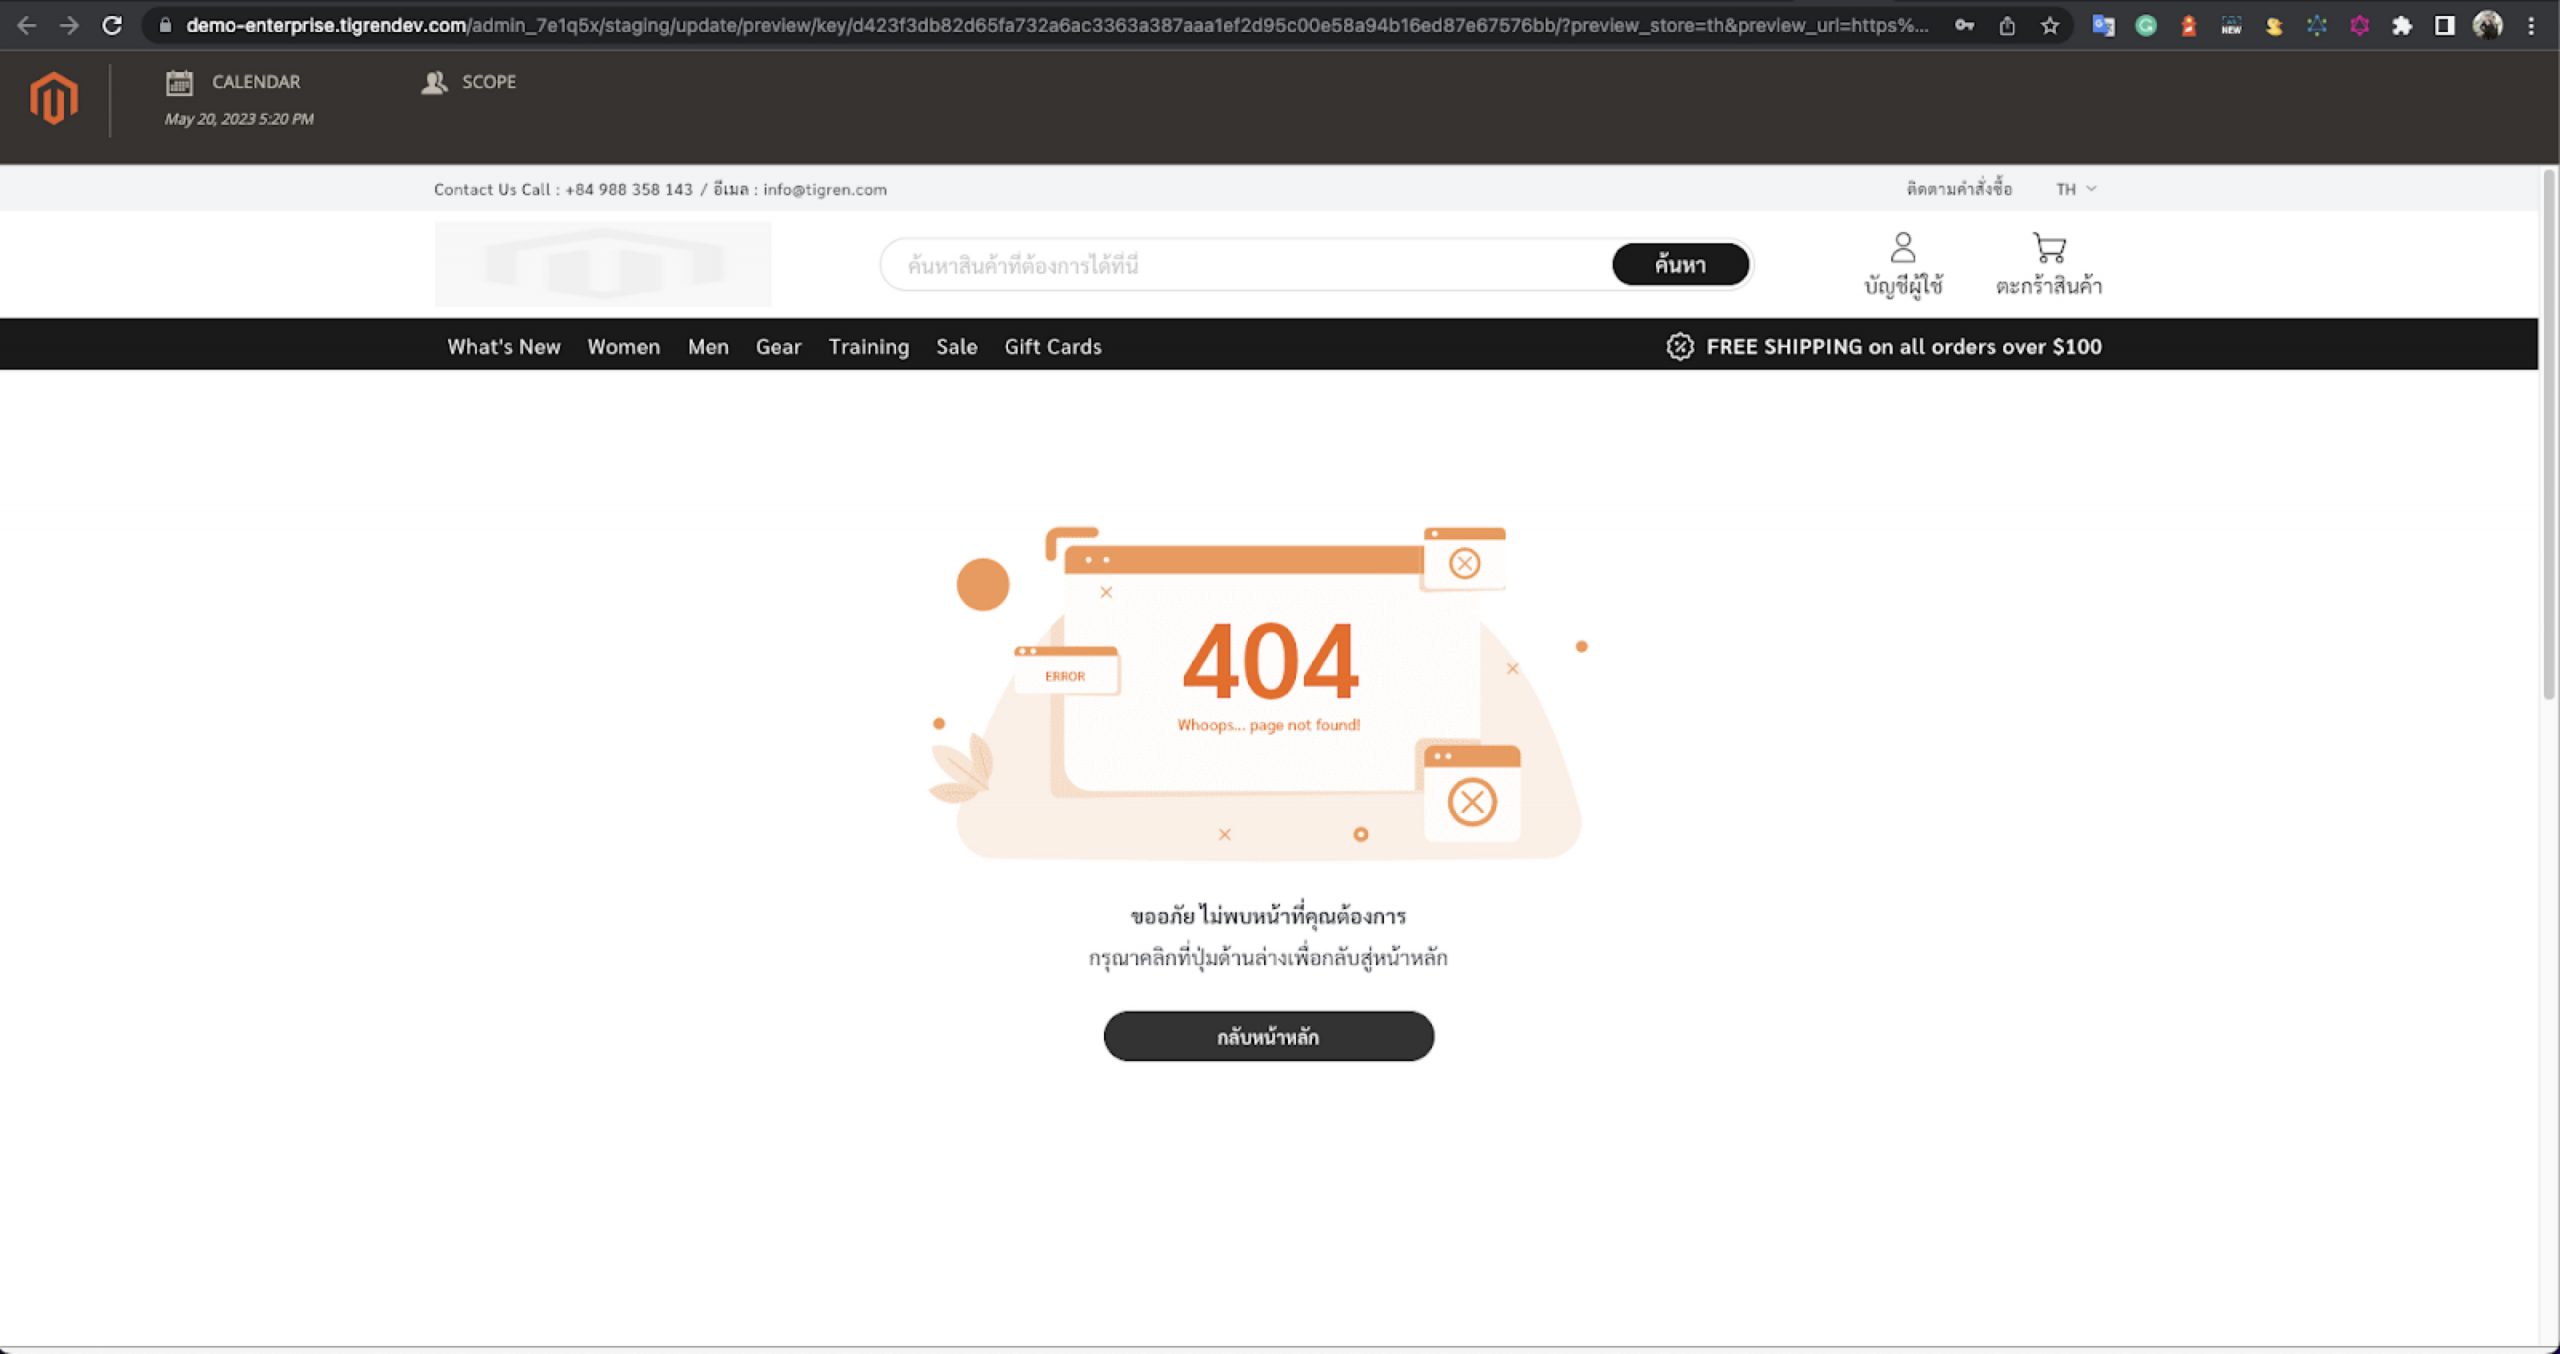
- Missing Route: Attempting to access “catalog/product/view/id/1/” on the PWA storefront leads to a 404 Not Found page since there is no defined route for this specific URL.
- Data Retrieval Challenges: The data retrieval process in the PWA storefront relies on GraphQl queries. Unfortunately, in this scenario, the necessary data is not available for querying.
- Authorization Key Requirement: To access product data via the GraphQl API, an authorization key is mandatory. This key serves both authentication and authorization purposes, allowing retrieval of the desired product information.
- Inconsistent Data Retrieval: Presently, when fetching data through the API, real data is returned instead of staging data. To acquire the staging data, it is essential to specify the desired preview version within the API request.
Addressing these issues will pave the way for seamless integration of Content Staging in Magento PWA, ensuring consistent preview experiences and enabling effective content management for various content types across your storefront.
How To Resolve The Campaign Preview Mode Error
Here are steps you can take to resolve this issue:
Step 1: Handle the Preview URL
- Create a plugin that allows customization of the preview URL:
<type name="Magento\Staging\Model\Preview\UrlBuilder">
   <plugin name="url_builder" type="Tigren\StagingGraphQl\Plugin\Magento\Staging\Model\Preview\UrlBuilder" />
</type>
- You can utilize Magento’s token generation function, which generates a token using the admin user to include the admin authorization key parameter in the URL. This ensures proper authentication and authorization for previewing content:
<?php
/*
 * @author    Tigren Solutions <[email protected]>
 * @copyright Copyright (c) 2023 Tigren Solutions <https://www.tigren.com>. All rights reserved.
 * @license   Open Software License ("OSL") v. 3.0
 */

namespace Tigren\StagingGraphQl\Plugin\Magento\Staging\Model\Preview;

use Magento\Store\Model\StoreManagerInterface;
use Magento\Store\Model\ScopeInterface;
use Magento\Framework\App\Config\ScopeConfigInterface;

/**
 * Class UrlBuilder
 * @package Tigren\StagingGraphQl\Plugin\Magento\Staging\Model\Preview
 */
class UrlBuilder
{
    const PARAM_AUTHORIZATION = 'authorization';
    const PARAM_PREVIEW_VERSION = 'preview_version';
    const XML_PATH_AUTHORIZATION_USER = 'pwa/preview/authorization_user';
    const XML_PATH_AUTHORIZATION_PASSWORD = 'pwa/preview/authorization_password';

    /**
     * @var StoreManagerInterface
     */
    protected $storeManager;

    /**
     * @var ScopeConfigInterface
     */
    protected $scopeConfig;

    /**
     * @var \Magento\Integration\Model\AdminTokenService
     */
    protected $adminTokenService;

    /**
     * @param StoreManagerInterface $storeManager
     * @param ScopeConfigInterface $scopeConfig
     * @param \Magento\Integration\Model\AdminTokenService $adminTokenService
     */
    public function __construct(
        StoreManagerInterface $storeManager,
        ScopeConfigInterface $scopeConfig,
        \Magento\Integration\Model\AdminTokenService $adminTokenService
    ) {
        $this->storeManager = $storeManager;
        $this->scopeConfig = $scopeConfig;
        $this->adminTokenService = $adminTokenService;
    }

    /**
     * @param \Magento\Staging\Model\Preview\UrlBuilder $subject
     * @param $versionId
     * @param $url
     * @param $store
     * @return array
     */
    public function beforeGetPreviewUrl(
        \Magento\Staging\Model\Preview\UrlBuilder $subject,
        $versionId,
        $url = null,
        $store = null
    ) {
        try {
            $token = $this->getTokenAdmin();
            $newUrl = $url . self::PARAM_PREVIEW_VERSION . '/' . $versionId . '/' . self::PARAM_AUTHORIZATION . '/' . $token;
        } catch (\Exception $e) {
            return [$versionId, $url, $store];
        }
        return [$versionId, $newUrl, $store];
    }

    /**
     * @return string
     * @throws \Magento\Framework\Exception\AuthenticationException
     * @throws \Magento\Framework\Exception\InputException
     * @throws \Magento\Framework\Exception\LocalizedException
     */
    public function getTokenAdmin()
    {
        return $this->adminTokenService->createAdminAccessToken($this->getAuthorizationUser(),
            $this->getAuthorizationPassWord());
    }

    /**
     * @return mixed
     */
    public function getAuthorizationUser()
    {
        return $this->getConfigData(self::XML_PATH_AUTHORIZATION_USER);
    }

    /**
     * @return mixed
     */
    public function getAuthorizationPassWord()
    {
        return $this->getConfigData(self::XML_PATH_AUTHORIZATION_PASSWORD);
    }

    /**
     * @param $path
     * @return mixed
     */
    public function getConfigData($path)
    {
        return $this->scopeConfig->getValue($path, ScopeInterface::SCOPE_STORE);
    }
}
- To avoid conflicts with existing queries, create a new GraphQL query in Magento specifically for handling the preview functionality:
type Query {
    product (
        preview_version: String
        authorization: String
    ): Product @doc(description: "The Product object")
}
Step 2: Customize the PWA storefront
- Add a new route for the preview page in your PWA storefront:
route.push({
            name: 'ProductPreview',
            pattern:
                '/catalog/product/view/id/:id/preview_version/:preview_version/authorization/:authorization',
            path: 'src/components/ProductPreview'
        });
- For the Product Preview component, you can build a similar product detail component by referring to the Venia component.
- We need to use a new GraphQl query to get the staging data.
import { gql } from '@apollo/client';
import { ProductDetailsFragment } from '@magento/peregrine/lib/talons/RootComponents/Product/productDetailFragment.gql.js';

export const GET_PRODUCT_DETAIL_QUERY = gql`
    query getProductDetailForPreviewProductPage(
        $id: Int!
        $preview_version: String
        $authorization: String
    ) {
        product(
            id: $id
            preview_version: $preview_version
            authorization: $authorization
        ) {
            item {
                id
                uid
                ...ProductDetailsFragment
            }
        }
    }
    ${ProductDetailsFragment}
`;

export default {
    getProductDetailQuery: GET_PRODUCT_DETAIL_QUERY
};
To retrieve staging data instead of current product data in a normal product GraphQL query, follow these steps:
- Verify the Magento_StagingGraphQl module: Ensure that the Magento_StagingGraphQl module is installed and properly configured in your Magento instance. This module provides support for accessing staging data using the preview version.
- Include the authorization key and preview version in the request header: Instead of using query parameters, the Preview-Version should be obtained from the request header. Include both the admin authorization key and the preview version in the request header when making the GraphQL API call.
- Set the authorization key in the request header: Add the admin authorization key to the request header as an authorization token. This ensures proper authentication and authorization for accessing the staging data.
- Set the preview version in the request header: Include the preview version in the request header using the appropriate header key and value. This instructs Magento to retrieve the corresponding staging data for the specified preview version.
By including the authorization key and preview version in the request header, the GraphQL API call will retrieve the desired staging data instead of the current product data.
Step 3: Customize preview GraphQl
- You need to add a new query into supportedQueries in the app/code/Tigren/StagingGraphQl/etc/graphql/di.xml file:
<?xml version="1.0"?>
<!--
  ~ @author    Tigren Solutions <[email protected]>
  ~ @copyright Copyright (c) 2023 Tigren Solutions <https://www.tigren.com>. All rights reserved.
  ~ @license   Open Software License ("OSL") v. 3.0
  -->
<config xmlns:xsi="http://www.w3.org/2001/XMLSchema-instance"
        xsi:noNamespaceSchemaLocation="urn:magento:framework:ObjectManager/etc/config.xsd">
    <type name="Magento\StagingGraphQl\Plugin\Query\PreviewResolver">
        <arguments>
            <argument name="supportedQueries" xsi:type="array">
                <item name="product" xsi:type="string">product</item>
            </argument>
        </arguments>
    </type>
</config>
- Lastly, update the useAdapter.js file in the @magento/peregrine/lib/talons/Adapter directory with the provided code:
const authLink = useMemo(
    () =>
        setContext((_, { headers }) => {
            const token = storage.getItem('signin_token');
            const operationName = _.operationName;
            if (operationName === 'getProductDetailForPreviewProductPage') {
                const variables = _.variables;
                if (variables.preview_version !== undefined && variables.authorization !== undefined) {
                    const previewVersion = variables.preview_version;
                    const authorization = variables.authorization;
                    return {
                        headers: {
                            ...headers,
                            authorization: 'Bearer ' + authorization,
                            'preview-version': previewVersion
                        }
                    };
                }
            }
            return {
                headers: {
                    ...headers
                }
            };
        }),
    []
);
This code adds a condition to check if the operation name is ‘getProductDetailForPreviewProductPage’. If the condition is met and the required variables (preview_version and authorization) are present, the headers are updated accordingly.
After making these code changes, rebuild your PWA to incorporate the updates.
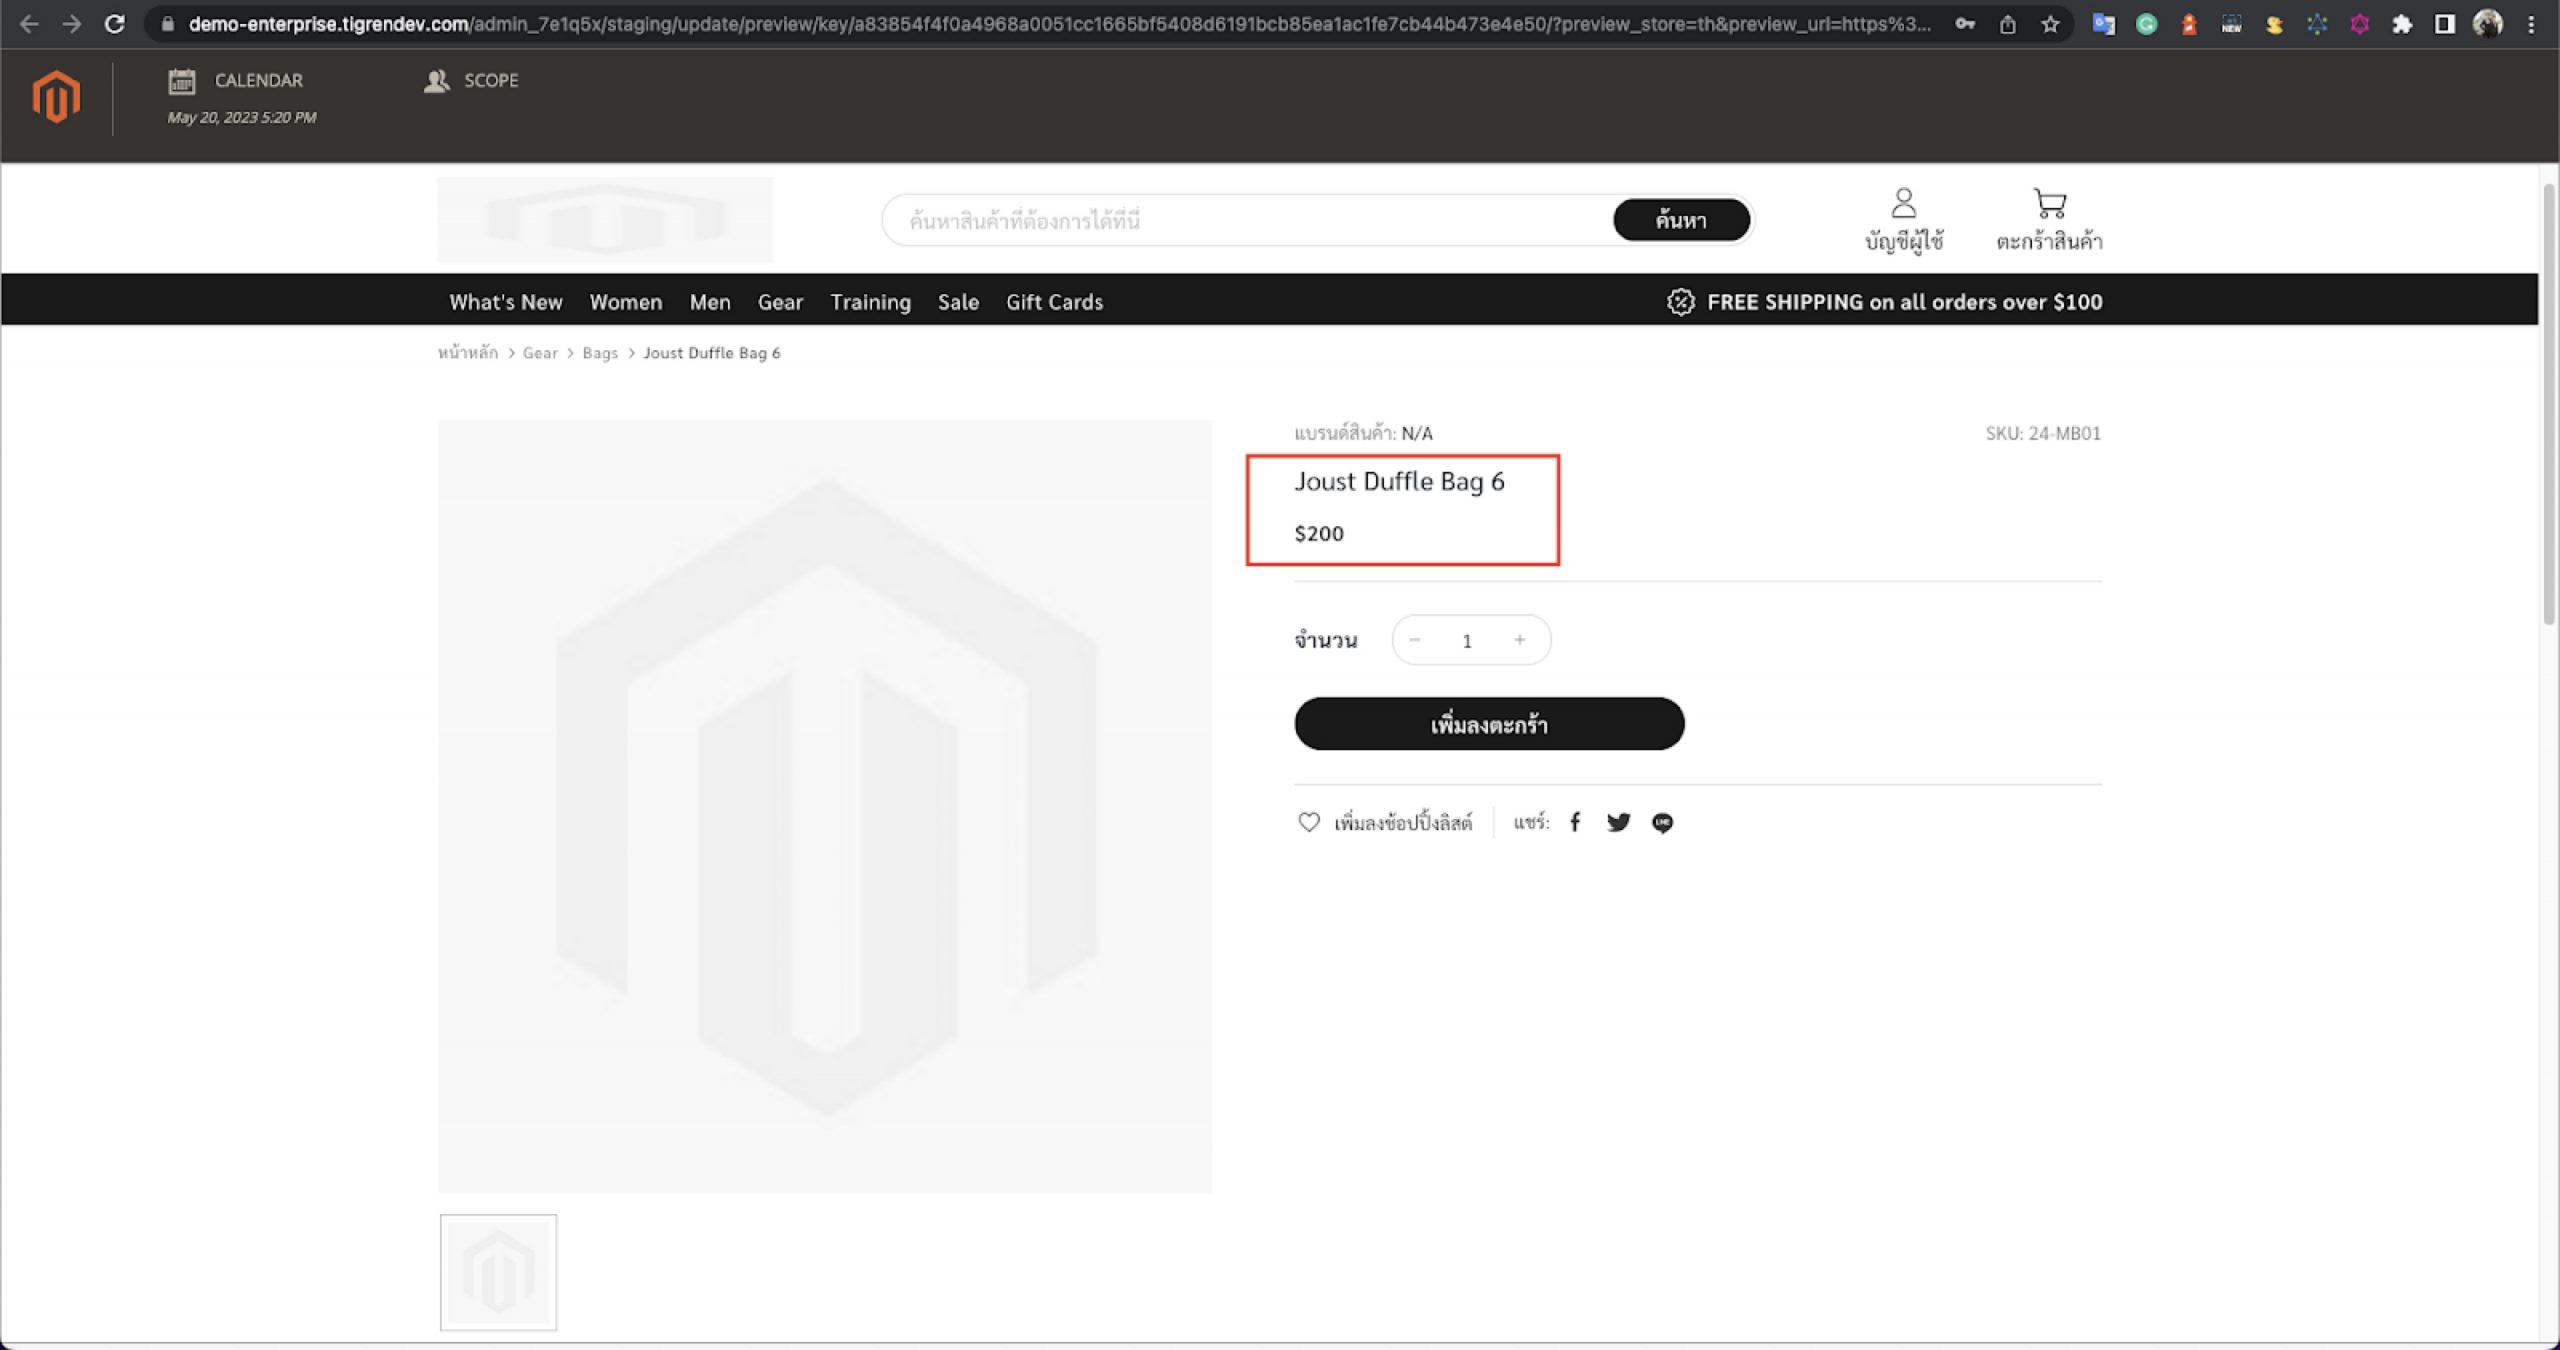
You can now apply this solution to update other staging content in your PWA by including the necessary headers in the GraphQL requests.

Final Words
The inability to preview campaigns in Content Staging can be a frustrating obstacle when managing Adobe Commerce PWA stores. However, armed with the knowledge and solution provided in this blog post, you now have the tools to overcome this issue and harness the full potential of content staging.
By following the step-by-step instructions, you can customize the preview URL, customize your PWA storefront, and ensure the retrieval of staging data for a seamless preview experience. With the ability to accurately preview and schedule your content updates, you can confidently enhance your online store’s user experience and drive conversions.
Related Posts:
How Long Does It Take To Build A Magento PWA?
How To Choose The Right PWA Theme For Magento 2

