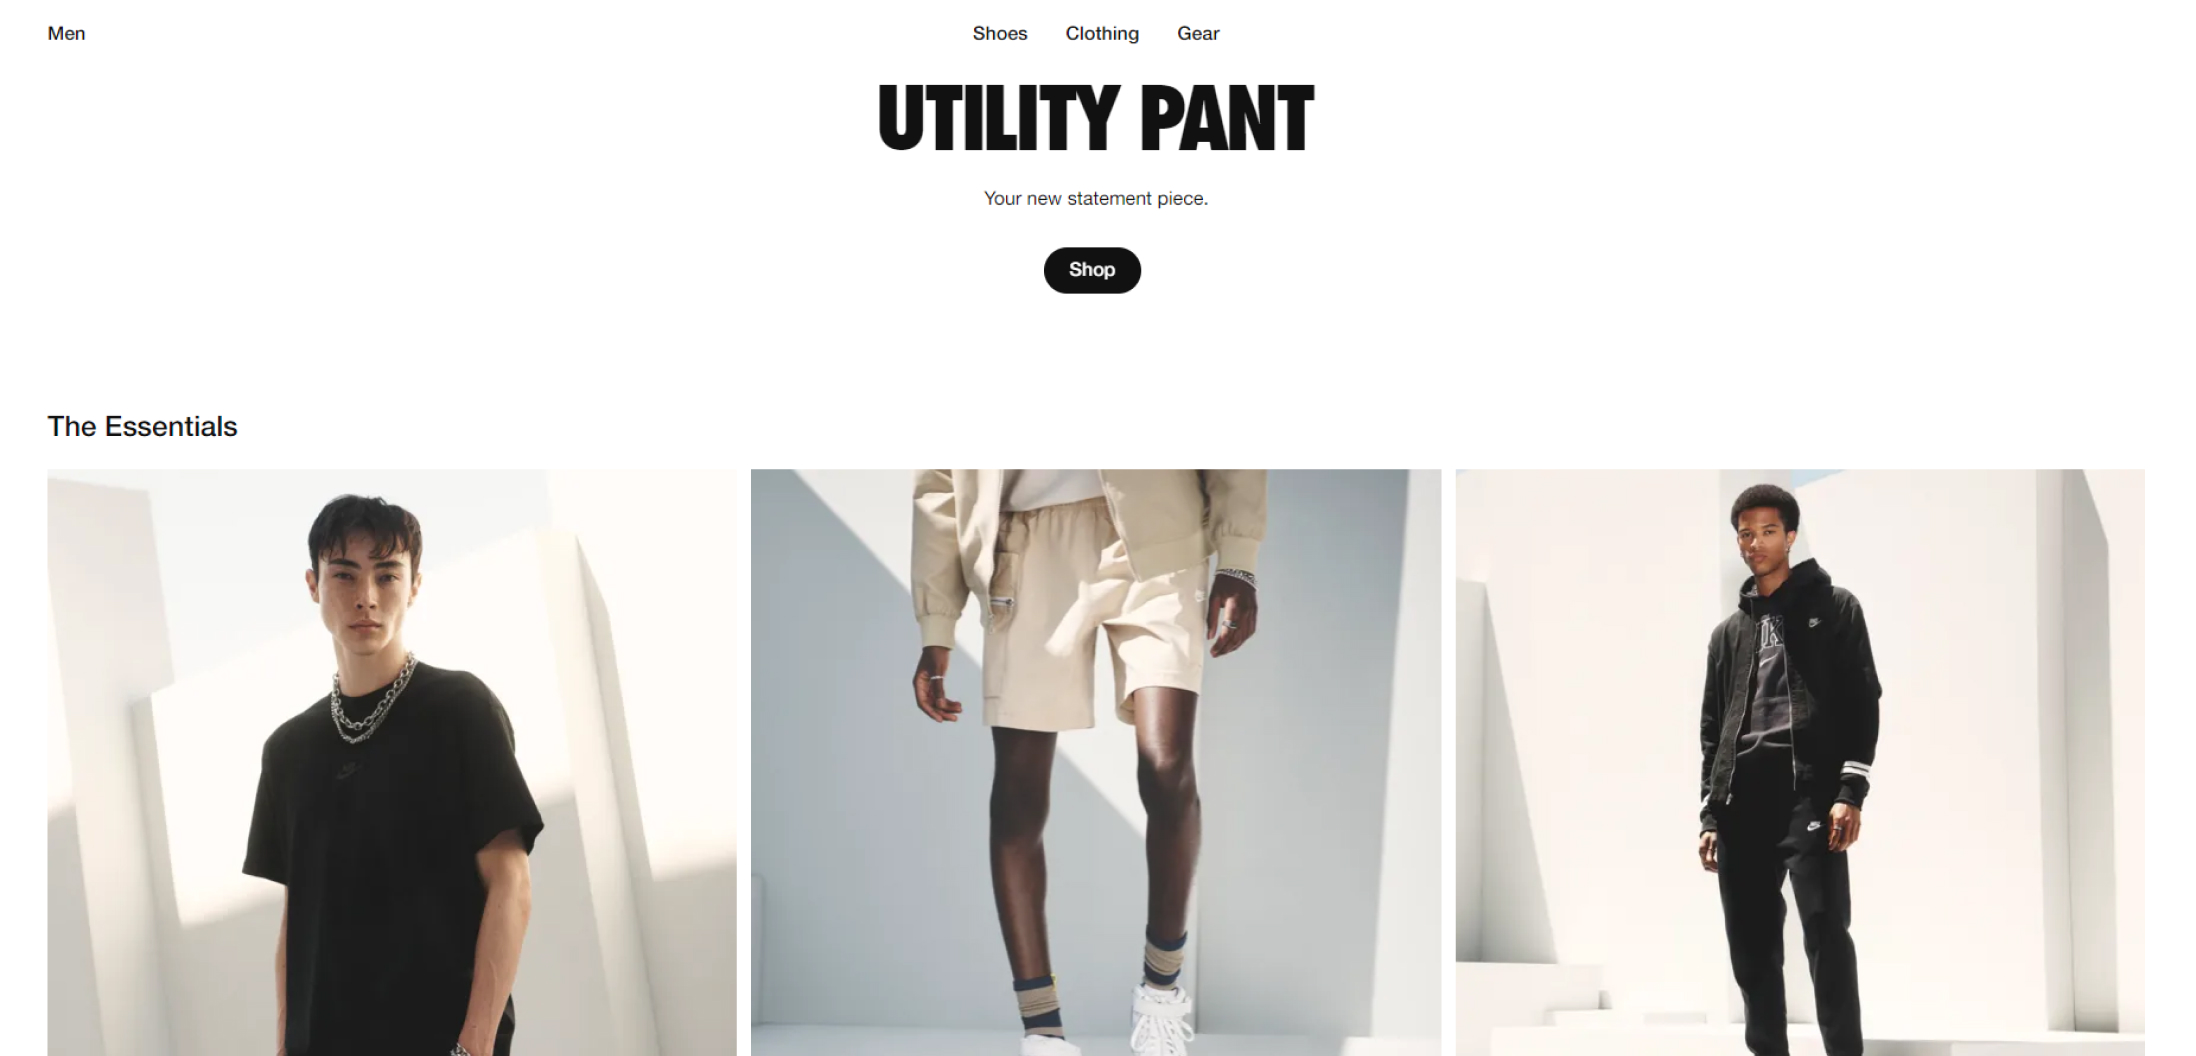
As online shopping continues to grow in popularity, it’s more important than ever for businesses to have high-quality product photography on their websites. In this guide, we’ll take a look at the latest trends in eCommerce product photography and discuss how you can create stunning images that will make your products stand out from the competition. We’ll also share tips and tricks for photographing various types of products. So whether you’re just getting started with product photography or you’re looking to take your skills to the next level, this guide is for you!
The Definition Of eCommerce Product Photography
eCommerce product photography is the art of taking photographs of products that will be sold online. This type of photography is important because it gives potential customers a clear idea of what the product looks like and how it works. Good eCommerce product photos can make or break a sale, so it’s important to invest in quality images.
There are a few different types of eCommerce product photography, including:
Product Photos
In addition to showing the product from multiple angles, product photos also often showcase the product in use or being worn by a model. These types of photos aim to give potential customers a clear understanding of the size, shape, and features of the product. Additionally, they may display details such as color options or different functionalities. Product photos can also highlight any standout design elements or special materials used in the creation of the item. In order to write about these photos with more detail and higher semantic richness, one could also mention how the product may improve or enhance a customer’s daily life or provide specific measurements and dimensions.
In-use Photos
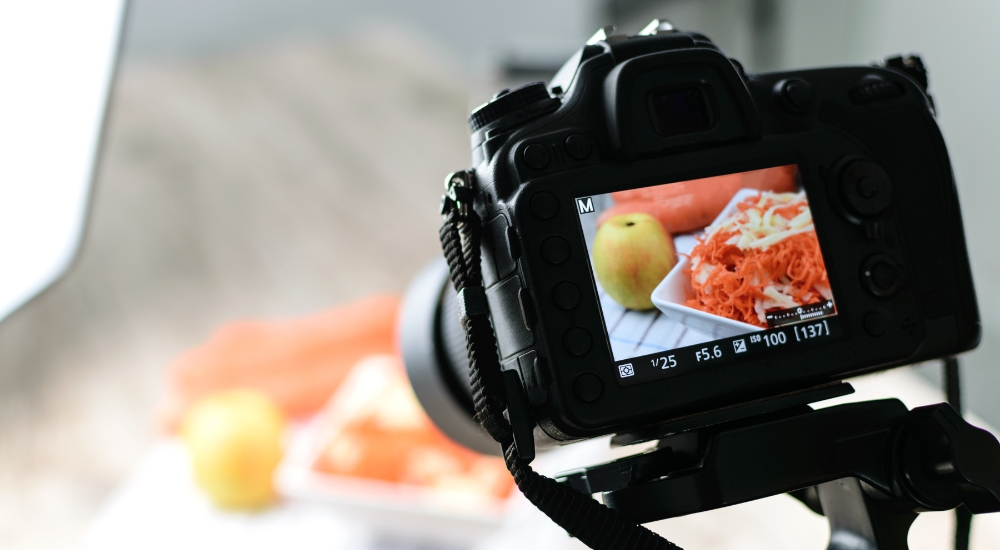
In-use photos give customers a better understanding of how the product actually functions in real-life situations. These types of images showcase the product being used by an individual or group, demonstrating its practical application and potential benefits. In addition to simply showing the product in use, these photos may also include information about the specific circumstances in which it is being utilized, such as during outdoor activities or in a professional setting.
In order to effectively convey all of this information and enhance the overall meaning and depth of the photo, it is important to include more detailed descriptions and facts. This can be achieved by including specific labels or names for the product and its features, as well as providing context for how it is being used. Additionally, incorporating additional information about the benefits or advantages of using the product in this particular manner can add to the semantic richness of the image.
Lifestyle Photos
These lifestyle photos showcase the product being used in everyday situations, potentially evoking a sense of desire or aspiration in the viewer. The images may feature individuals using the product while engaging in leisure activities, or incorporating it into their daily routine. These types of images are often used to emphasize the usefulness and convenience of the product, as well as its ability to enhance one’s lifestyle and enhance their overall experience.
In addition to simply displaying the product, these photos may also highlight its aesthetic appeal and how it can seamlessly integrate into various environments and settings. Overall, these lifestyle photos aim to effectively convey the benefits and features of the product in a relatable and enticing manner.
Trends In eCommerce Product Photography
There are a few key trends that are shaping the world of eCommerce product photography. Here are a few of the most important ones:
Minimalist Photography
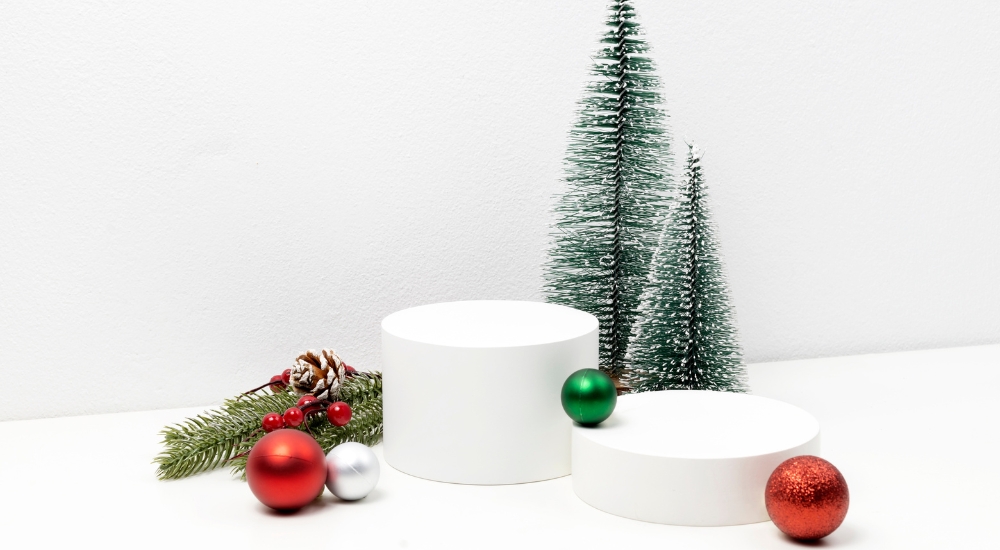
In minimalist product photography, the goal is to minimize distractions and highlight the product itself. This style of photography allows customers to clearly see the features and details of the product, making it easy for them to compare different options.
Additionally, this type of photography can help make a product appear more modern and high-end. To achieve a minimalist look, photographers often use a plain background, simple composition, and minimal props or styling elements. The focus remains on the product itself, allowing it to stand out in a visually appealing way.
Flat lay Photography
In flat-lay product photography, the photographer arranges all of the items in a tasteful and visually appealing way before snapping the shot from above. This style allows for a clean and organized display of multiple products or elements, making it a popular choice for e-commerce and social media marketing.
To achieve higher semantic richness and provide more details and facts, the photographer can incorporate props or backgrounds that enhance the theme or story behind the products. For example, including a notebook and pen with a laptop showcases its use as a work tool, while adding flowers and a cup of coffee accentuates its usefulness for leisure activities. Additionally, varying the heights and angles of the objects can add visual interest to the composition.
Ghost Mannequin Photography
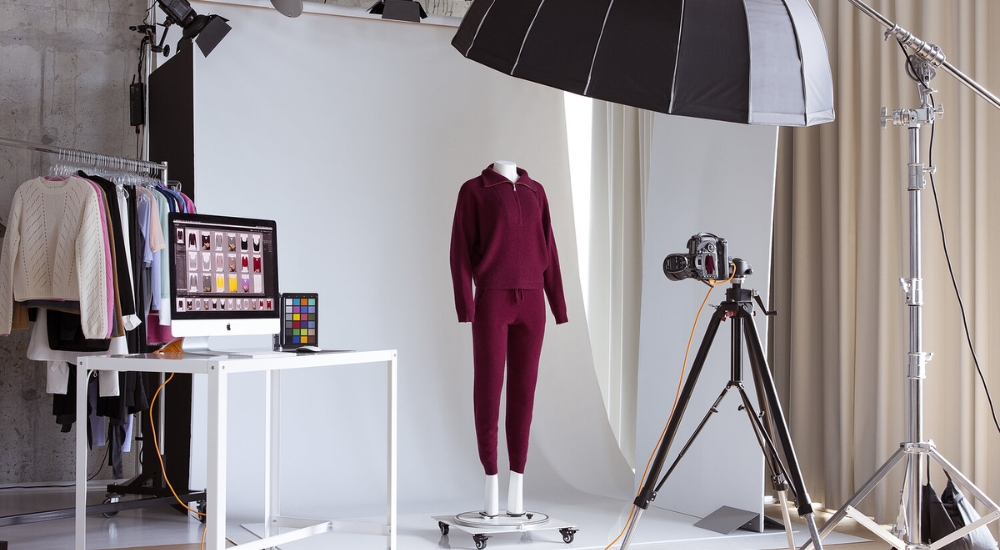
Ghost mannequin photography can also be referred to as “invisible mannequin,” “neck joint,” or “shoulder joint” photography. This technique involves cutting out the mannequin’s neck and shoulders, then using Photoshop to blend the product’s edges seamlessly onto the mannequin.
Some benefits of using this technique include showcasing intricate details and stitching on clothing items, creating a more realistic appearance, and saving time and resources by not needing to style and arrange props or hire models.
Ghost mannequin photography is commonly used in e-commerce industries such as fashion and jewelry, but it can also be applied to other products such as home decor or technology. It can also be used in print advertising or catalogs, as well as virtual lookbooks or online product galleries.
In order to achieve high-quality results with ghost mannequin photography, it’s important to have a skilled photographer who is familiar with the editing process and can ensure a seamless blend between the product and the invisible mannequin. It’s also crucial to have a well-made mannequin that fits the product accurately for a natural look.
Video

One great way to use video for eCommerce products is to showcase the product in action. This can give customers a better idea of how the product works and how they can incorporate it into their lifestyle. Additionally, filming lifestyle or in-use photos can help capture the emotions and feelings associated with using the product.
Another way to utilize video for eCommerce products is to provide informative demonstrations or tutorials. This can not only show customers how the product works, but it can also provide added value by offering tips and tricks for getting the most out of the product.
In terms of writing for these types of videos, it’s important to include more details and facts about the product as well as use language with higher semantic richness. This helps paint a clearer picture for viewers and highlights the unique features and benefits of the product.
The Importance Of eCommerce Product Photography
The importance of eCommerce product photography cannot be understated. In today’s digital age, consumers base their purchasing decisions largely on the visual representations they see online. High-quality product photography helps customers accurately envision products in their own lives and can significantly increase sales for eCommerce businesses.
Not only does good product photography improve the overall aesthetic appearance of a website or online store, but it also builds trust with potential customers. Poor-quality images can make a brand appear unprofessional and unreliable, leading customers to take their business elsewhere.

In addition to increasing sales and building trust, high-quality product photography can also improve SEO efforts and boost search engine rankings. Search engines favor websites with visually appealing content, and well-photographed products can drive more traffic to a website through image searches.
Investing in professional product photographers or equipment can seem costly at first, but the benefits far outweigh the initial expense. Utilizing great product photography is essential for any successful eCommerce business.
Necessary Tools For eCommerce Product Photography
Product photography doesn’t have to be complicated or expensive. With the right tools, even novice photographers can take great photos that will help boost sales. Here are a few essential tools for eCommerce product photography:
A Digital Camera
A digital camera is a must-have for eCommerce businesses, as it allows them to capture high-quality product images for their website and online store. While some may opt to use their smartphone camera, a DSLR or mirrorless camera will offer much better image resolution, depth of field control, and low light performance.
Not only that, but digital cameras also give users the ability to easily adjust settings such as exposure, white balance, and ISO for more professional-looking photos. When choosing a camera for eCommerce product photography, it’s important to consider factors such as megapixels, lens options, and video capabilities. Investing in a quality digital camera will ultimately result in improved visuals for your online products, leading to increased sales and customer satisfaction.
A Tripod
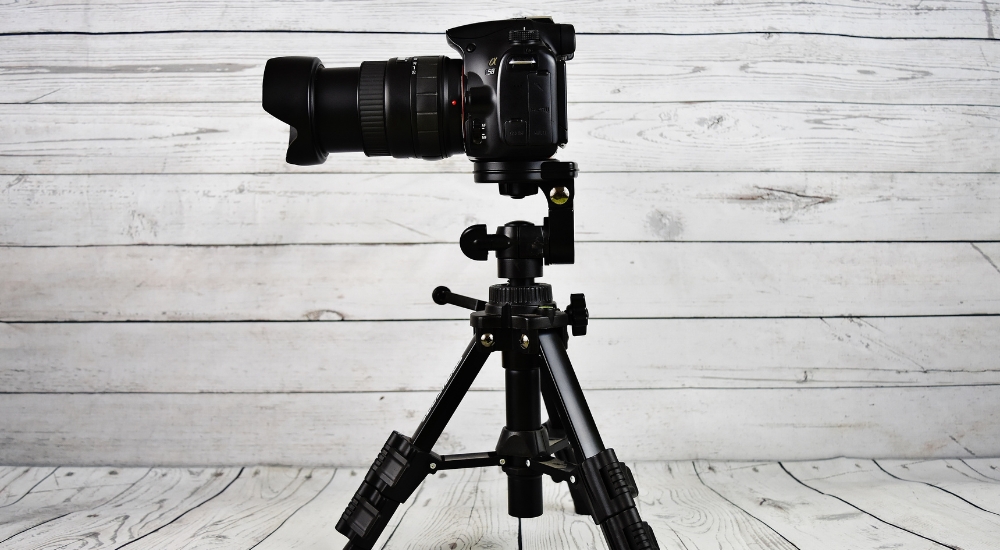
A tripod is an essential piece of equipment for any photographer, especially those who specialize in product photography. By keeping your camera steady on a tripod, you can capture sharp, clear images without any blur.
Not only does a tripod help with capturing crisp images, but it also allows for more flexibility in composition and angle options. The use of a tripod allows the photographer to set up the shot and make small adjustments without having to constantly readjust their hands or body position.
In addition, tripods often have adjustable heights and hooks for hanging additional equipment such as lighting or reflectors.
When choosing a tripod, it’s important to consider factors such as weight capacity, height range, and materials used. Some tripods even come with remote shutter releases, allowing for even more stability and convenience during shoots. Investing in a high-quality tripod is definitely worth it for any serious product photographer.
A Lightbox
A lightbox is a must-have tool for any photographer or videographer looking to enhance their images by diffusing and softening light. The small tent-like structure is perfect for capturing close-up shots of small products, providing an even spread of light to eliminate harsh shadows.
Some lightboxes even come equipped with adjustable LED lights, allowing photographers to control the intensity and color temperature of the light.
Additionally, many lightboxes feature removable backgrounds in various colors and patterns, giving photographers, even more, control over the final look of their images.
When setting up a lightbox, it’s important to ensure that the fabric panels are evenly spread out and taut to prevent any unwanted visible wrinkles or creases in the final image. Lightboxes can also be used with various photography accessories such as reflectors and diffusers for added versatility.
A Reflector

A reflector is a versatile tool that can be used in photography and videography to manipulate light and add dimension to a subject. They come in various sizes and shapes, with the most common being round or rectangular with a silver, gold, or white reflective surface.
Reflectors can be used to add fill light to a subject in order to minimize shadows and highlight details or to bounce light onto specific areas for more targeted lighting effects. They can also be used to reflect natural light or artificial light sources such as flashes or strobes.
Reflectors are often collapsible and lightweight, making them easy to transport and set up on location shoots. They can also be used in conjunction with other lighting tools such as umbrellas or softboxes for even more creative control over the lighting in a scene.
Background Materials And Props
Background materials such as seamless paper or fabric can add depth and dimension to the product being photographed. Decorative items, like faux flowers or vintage books, can enhance the overall aesthetic and tell a story about the product.
It’s important to choose background materials and props that complement the product and do not distract from it. When selecting background materials and props, consider the colors, textures, and themes that will best showcase the product.
Additionally, take into account the size of the product in relation to the background and props to ensure a balanced composition in the photograph. Experimenting with different combinations of backgrounds and props can result in a variety of visually appealing images for your brand or business.
Editing Software
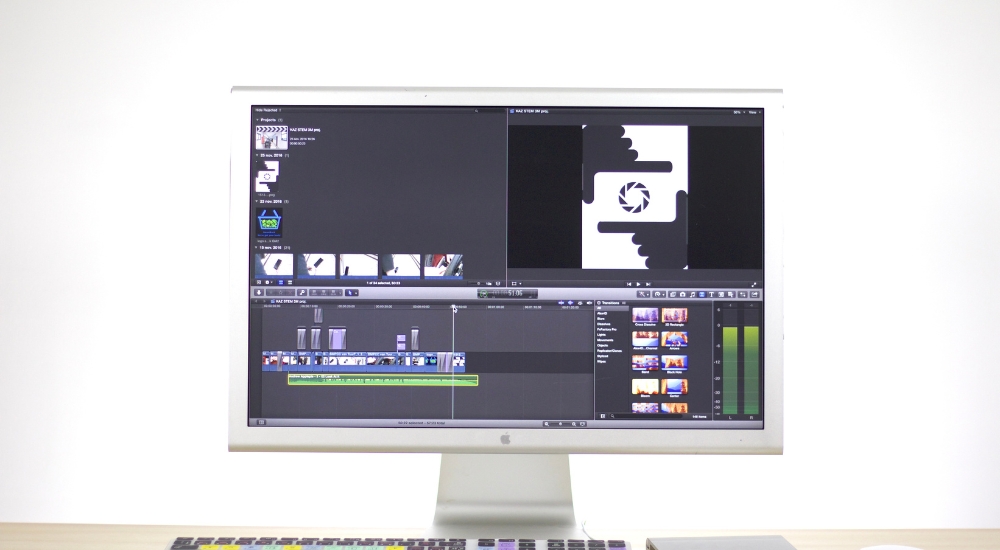
With editing software like Adobe Photoshop and Lightroom, you can enhance the colors, adjust lighting and contrast, crop and straighten your images, remove blemishes or distractions, and even merge multiple photos together to create a completely new image. These programs also offer numerous filters and effects to give your photos a unique touch.
Additionally, these types of software allow for non-destructive editing, meaning that you can make changes and adjustments to your images without permanently altering the original file. This allows for greater flexibility in experimentation and the ability to easily undo any changes. Overall, editing software gives photographers and digital artists a vast array of tools to bring their visions to life and truly make their photos stand out.
With the right tools, anyone can take great eCommerce product photos. By investing in high-quality equipment and taking the time to learn basic photography techniques, you can create images that will help boost your sales and build trust with your customers.
eCommerce Product Photography Process: Steps By Steps
Product photography doesn’t have to be complicated. With a little practice, anyone can take great photos that will help sell their products. Here’s a basic process for taking eCommerce product photos:
Set Up Your Camera And Tripod
First, choose a stable, flat surface for your tripod. Next, attach your camera to the tripod using the appropriate screws or quick-release plate. Adjust the height and positioning of the tripod so that it is secure and in line with your desired shot.
Once your camera is attached, make sure to double-check all connections and tighten any loose screws. While on the tripod, adjust the settings on your cameras such as ISO, shutter speed, and aperture to ensure optimal image quality. If using a remote or timer, set those functions as well. And finally, frame and compose your shot before taking the photo.
Place Your Product In The Lightbox Or On The Background Of Your Choice
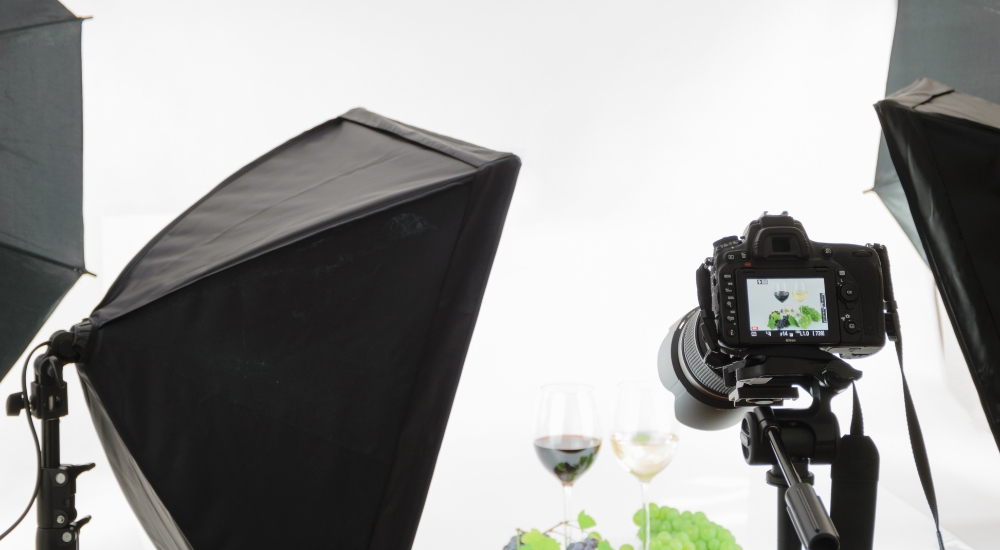
To properly place your product in the lightbox or on the background, first, consider the composition and layout of the image. Position the product so that it is the focal point of the image and there is enough negative space around it to draw attention.
Next, consider using both natural and artificial lighting to highlight the product and create a visually appealing image. Adjust the lights as needed to eliminate any shadows and ensure that the product is evenly lit. In addition, experimenting with different lighting techniques such as backlighting or using a reflector can enhance the overall look of the photo. It’s important to also pay attention to the color temperature of the lights being used in order to avoid any unwanted color casts on the product.
To achieve a clean and professional look, it is important to choose a background that complements the product and does not distract from it. Additionally, adjusting the distance and angle between the product and the background can help create a visually appealing composition. In terms of technical aspects, using a larger aperture can help achieve a blurred background, drawing attention to the product. Experimenting with different lighting techniques, such as backlighting or using a reflector, can also enhance the overall appearance of the image. It is important to consider the colors and patterns in the background as well, as they can have an impact on the overall tone and mood of the photograph.
Additionally, pay attention to details such as tidying up any stray strands of hair or wrinkles in clothing. Take multiple shots from different angles and distances to capture the best possible image. With careful consideration and attention to detail, your product will stand out in any lightbox or background setting.
Take A Few Test Shots To Get Things Right
Before starting to capture the scene, it is important to take a few test shots to ensure that the exposure and composition are correct. This can be achieved by adjusting the camera settings and experimenting with different angles and perspectives. Additionally, taking multiple shots allows for a greater selection of images to choose from when editing.
Moreover, incorporating more details and facts as well as utilizing a higher level of semantic richness in the writing can enhance the overall description of the photograph. For example, instead of simply stating that the image features a tree, one could mention the type of tree and any distinguishing characteristics or surroundings. This allows for a more visually compelling and informative depiction of the subject matter.
Take Plenty Of Photos From Different Angles

In order to capture all of the beauty and experiences at the beach, it is important to take plenty of photos from different angles. This includes getting up close to capture small details, as well as stepping back and capturing the expansive scenery. Taking photos from various heights, such as kneeling or standing on something elevated, can also add an interesting dynamic to the shots.
Additionally, it is beneficial to write captions for these photos with more detail and facts, as well as use a higher level of vocabulary. This can enhance the overall look and feel of the photo album, making it a more enjoyable experience for those viewing it. Captions can include information about the location, any unique features or activities that were happening during the photo, and personal reflections or memories associated with the image. By putting in extra effort to add semantic richness to the captions, the photos will have a deeper meaning and impact.
Edit Your Photos
After importing your photos into Lightroom, you should start editing by adjusting the white balance to correct any color casts. Next, the spot healing tool should be used to remove any blemishes or distracting elements from the image. you can play with the clarity, vibrance, and saturation settings to enhance the colors and add more depth to the overall look of the photograph.
In Photoshop, let’s utilize the clone stamp tool to refine the image and remove unwanted objects. The brush tool is important to fine-tune lighting and contrast, giving the photo a more polished appearance.
To add even more detail and richness to my photographs, you can try various textures and overlays before finally selecting the ones that best complemented the mood and aesthetic of each individual image.
Save Your Edited Photos
To save your edited photos, first export them from your editing software as JPEG or TIFF files. It’s important to choose the appropriate file format for the intended use of your photo – for example, if you plan to print the photo, a TIFF file would likely be the best option due to its high quality and ability to preserve image details.
Once exported, make sure to properly label and organize your photos in a designated folder on your computer or external storage device. This will make it easier to locate and access them in the future.

For uploading your photos onto a website or online store, determine where and how you want them displayed – do you want them all in one gallery, or spread out amongst various product pages? Choose a reliable hosting platform that offers ample storage space and easy ways for customers to view and purchase your photos. Before uploading, also consider size optimization to ensure that your photos load quickly on the web page without losing any visual quality.
In addition, think about implementing a watermark or signature on your photos before sharing them online. This can help protect your work from potential theft and establish branding for yourself as a photographer.
With a little practice, you’ll be able to take great product photos that will help sell your products. By following these steps and investing in high-quality equipment, you can create images that will make your eCommerce business succeed.
Wrap Up
In conclusion, the eCommerce product photography is a process that takes time and effort to perfect. However, it is worth it in order to show your products in the best light possible and increase sales. By following the steps we outlined and using the proper tools, you can create beautiful product photos that will help your business succeed online.
At Tigren, we have a blog that contains extensive eCommerce advice from our team of experts with years of experience in the industry. We write on many topics, such as online marketing and eCommerce development tips. If you run into any trouble with your eCommerce site, don’t hesitate to reach out to us. Our years of experience as developers mean that we’re always happy to help out where we can.

Read more:

