When running an online store, every little detail counts, and one that’s often overlooked is image optimization. Images, especially unoptimized ones, can drastically slow down your Magento store, driving away customers, and negatively impacting your bottom line.
In this guide, you’ll learn everything you need to know about Magento image optimization. We’ll explain how to choose the right image formats, and why using techniques like lazy loading can help. We’ll also touch on new image formats like WebP and how to make the most of vector images. To wrap it up, we’ll recommend some handy Magento image optimization extensions.
Whether you’re new to Magento or a seasoned pro, you’ll probably learn something new. Now without further ado, let’s get started!
Contents
Why You Should Care About Magento Image Optimization
Image optimization on Magento has a number of benefits that can greatly improve your online store’s performance. Let’s break them down:
Website Speed Improvement
When you optimize your images, you reduce their file size. Given that images usually take up the most space on a web page, reducing their size can significantly speed up your website. A faster website creates a better experience for your users. Plus, it reduces the chances of them leaving your site due to slow load times.
Better Browsing Experience
Your customers come to your site to see your products, and images play a key role in this. However, if your images aren’t optimized and make your page slow to load, your visitors may leave. In fact, studies show that for every extra second it takes your page to load, you could lose 10% of your visitors. Optimizing your images for quick loading can make browsing your site more enjoyable. This can lead to increased customer engagement, more sales, and higher customer loyalty.
Better Search Performance
Optimizing your images doesn’t just make your website look better, it also makes it more visible to search engines. When your images are properly optimized, search engines can better understand what’s on your page. This could improve your website’s ranking in search results. Also, images are a big part of Google search results. This means that optimized images could also get your site more traffic through Google’s Image Search.
Optimizing images isn’t too complicated, but it does require some thought. In the next section, we’ll discuss how to do it properly.
5 Best Practices to Optimize Images for Magento Websites
Let’s dive into the key practices that can help you optimize images for your Magento website. These strategies will ensure your website is performing at its peak, offering users a seamless experience while browsing your online store.

1. Picking The Right Format
Choosing the right image file format plays a pivotal role in image optimization. While there are various image file formats available, the three most important for website owners are JPEG, PNG, and GIF. Each of these formats has its unique features, strengths, and weaknesses, making them suitable for different types of images.
– JPEG: a compressed file format, is ideal for photos or images with lots of colors. This format slightly reduces image quality to provide a significantly smaller file size, which can be beneficial for improving website load speed. JPEG images are the most common format used by digital cameras and online platforms. One of its distinct features is that it allows you to strike a balance between image quality and file size by adjusting the compression settings.
– PNG: an uncompressed image format, produces higher quality images, making it suitable for simple or transparent images. While this format ensures a high-quality image, the downside is that file sizes are considerably larger, which might not be ideal for website load speed. PNG files support a wider range of colors and are the only format that supports transparent backgrounds. If you need to edit a photo multiple times, you may want to export it as a PNG file to preserve its quality.
– GIF: it uses lossless compression and only 256 colors, making it the best choice for animated images. While the file sizes and the quality of GIFs are typically lower, they are efficient for creating images for small icons or thumbnails. They’re also the only format that supports animation. However, as the image size gets larger, GIFs become less efficient at processing colors.
To keep your image optimization process straightforward, here’s a simple guideline: use JPEGs for photos or images with many colors, PNGs for simple or transparent images, and GIFs for animated images only. Consider the quality, the size of the image, and the load speed of your website when deciding on the file format.
2. Compress Your Images
Compressing your images helps them load faster, thereby improving your website’s performance. Uncompressed images, particularly PNGs, JPEGs, and GIFs, can add a significant amount of overhead to your site.
Don’t be afraid of losing image quality during compression. Most modern compression tools remove elements of the image that don’t impact the perceived image quality, and if done correctly, the loss of quality is often unnoticeable.
You can compress images in your store in a few ways. The first option is to utilize server-side tools that build image compression into your store. A tool like imagemin is a perfect example of this.
If you happen to use a Content Delivery Network (CDN), ask your provider if they offer image compression as an additional feature. Many good, reputable CDNs offer numerous built-in features that can help with the optimization, caching, and delivery of your media assets.
However, note that CDN image optimization does not alter the original image on your server but instead compresses the image in its server and caches it. This method reduces bandwidth use and improves browsing performance. A potential drawback to this approach is that if the CDN cache becomes invalidated, the original unoptimized image is served until a new cache can be built.

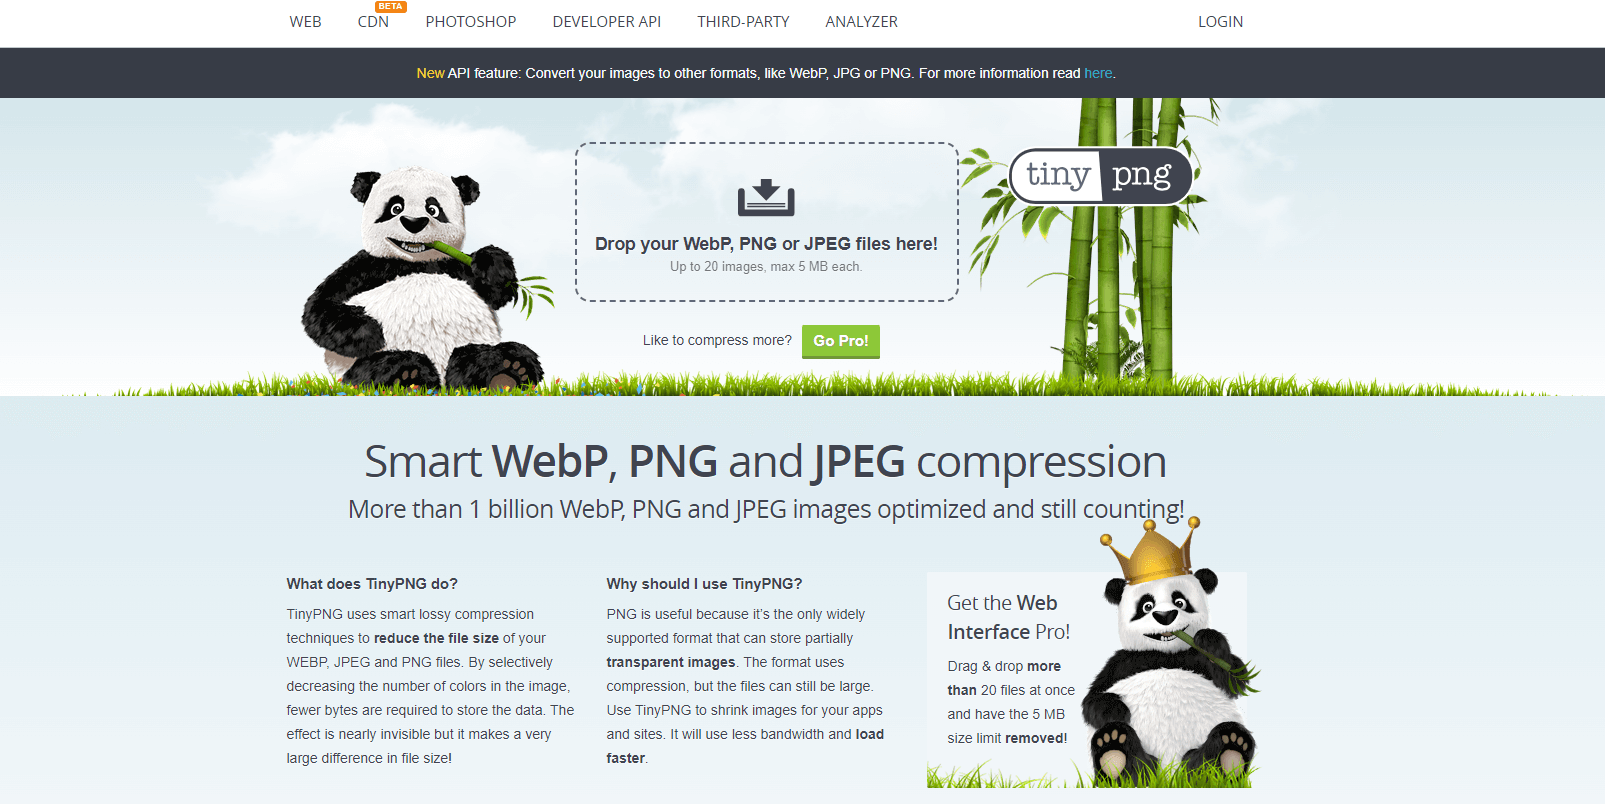
Another less technical solution is to simply compress your images prior to their upload. Just save your images normally and then run them through a web tool like TinyPNG then voila, your images are compressed. This method will take the most effort though, and doing it at scale can be a hassle.
3. Lazy Load Your Images
Lazy loading is a technique used to defer the loading of an asset, such as an image, until it is required. In practical terms, an image won’t be downloaded until the user scrolls to the point where the image appears on the screen. This technique can significantly speed up your site by only downloading images the user will actually see, making it especially beneficial for websites with numerous images.
Lazy loading is an essential tool in improving the perceived performance of your website without necessitating additional CPU or RAM. This method is not only SEO-friendly but also saves bandwidth for users who don’t scroll all the way down. Implemented correctly, lazy loading enhances the user experience without exerting unnecessary pressure on your server resources.

One key aspect to remember while implementing lazy loading is to exclude it for the largest element above the fold, as it can negatively impact the Largest Contentful Paint (LCP) score and your site’s overall perceived performance. In such scenarios, opt for a standard img or picture tag instead. You can, nevertheless, lazy load everything that is out of view, including menu icons and logos.
While lazy loading can be a game-changer, it’s worth noting that it may not be necessary if you have a fast internet connection and your site only uses small, well-optimized images. In such cases, you may be able to download all the images almost instantly, minimizing the advantages of lazy loading.
4. Consider Using WebP
WebP is a next-generation file format developed by Google and is widely accepted by most browsers. It’s specially designed for websites and offers both lossless compression and reduced image quality loss.
WebP can save up to 30% in size over JPEG, without any image quality loss. This results in faster-loading images, enhancing your website’s performance and user experience. Currently, the WebP format enjoys broad support from most mainstream browsers, including Opera, Firefox, Android, MS Edge, and Chrome.
Despite its benefits, it’s essential to note that not all browsers support WebP. This means that if you upload images already converted to WebP, users accessing your site from non-WebP compatible browsers will encounter broken images. However, this issue can be overcome by using a good Magento image optimization extension. It will help you detect whether users’ browser supports WebP or not and serve accordingly.
It’s crucial to consider the data storage implications when deciding to use WebP. If you decide to host a second version of each image in the WebP format on your Magento platform, it effectively means you’ll need almost twice as much data storage as you currently use. Before implementing this, carefully assess your infrastructure costs and prepare for the inevitable rise in data storage investments.
5. Vector Images Are Your Friend

Vector images offer a unique approach to image formatting as they do not consist of pixels. This crucial characteristic allows for limitless zoom without the loss of quality through blurry edges or visible squares. Maintaining a small file size, a vector image can be resized as desired while retaining high quality and stable file size. As a result, implementing vector images wherever possible is a recommended strategy to boost your image quality without lowering website performance.
It’s worth highlighting that vector images are most effective for simple illustrations and logos due to their inherent properties. The principal advantage of vector graphics is their scalability. Given that vector graphics are based on mathematical relationships between points that form lines and curves, they deliver clean and exact appearances at any size.
Nevertheless, despite these numerous benefits, vector images do come with some limitations. For instance, vector files are less capable of handling complex images. Photographs, which often require detailed color shading and blending, are better suited to raster files. Additionally, the creation of vector files can demand more skill and time compared to other image types.
Top 3 Magento 2 Image Optimization Extensions
An extension can be a very powerful tool in helping Magento merchants optimize images. In this section, we’ll delve into the best Magento 2 image optimization extensions available, evaluating their features, benefits, and why they could be the perfect fit for your website.
1. Image Optimizer for Magento by Apptrian

This free, user-friendly extension is designed to optimize your GIF, JPG, and PNG images, effectively reducing their file size without compromising image quality. The tool can be operated with a simple click in the Magento Admin or set to run automatically via a configurable cron job.
For those with advanced needs, Image Optimizer is fully configurable, allowing customization of optimization options and even the flexibility to swap the default utilities with those of your preference. The extension is free to use, however, you’ll have to pay for support.
2. Lazy Load by Amasty
Lazy Load extension by Amasty enhances your site’s loading speed by only loading product images as they come into view, optimizing both code and image for a seamless user experience. It offers capabilities such as image preloading for the first page view, WebP format image optimization, and reducing thumbnail sizes without quality loss.
Furthermore, this extension brings AMP functionality out of the box. With Lazy Load, you’re not only improving your customers’ browsing experience but also boosting your SEO ranking, giving you a competitive edge in the digital marketplace.
3. Image Optimizer for Magento 2 by Mageplaza

Image Optimizer by Mageplaza serves as an essential solution for compressing and optimizing images, significantly speeding up page load times, enhancing user experience, and boosting conversion rates. With support for popular image formats like PNG, JPG, GIF, TIF, and BMP, this extension offers seamless image lightening right from the admin backend.
Notably, it allows you to set compression levels, choosing between lossless and custom (lossy) compression, ensuring optimal control over image quality and file size. Coupled with features like automated optimization, original image backup, and selective image directory scanning, Image Optimizer offers comprehensive image optimization control.
Wrap Up
By now, you’ve probably understood the important role that image optimization plays in your Magento store. We’ve seen how optimizing your images can not only speed up your website but also make a big difference in how your store ranks in search engine results.
Magento image optimization is not something to be overlooked. Implementing the tips we’ve discussed can bring about notable improvements in your website’s performance, user experience, and consequently, your sales and conversion rates. Start optimizing today and see the difference for yourself. Enjoy the benefits of a faster, more efficient Magento store that both you and your customers will appreciate.

